Elegant crocheted popcorn stitch tendrils [ESP|ENG]
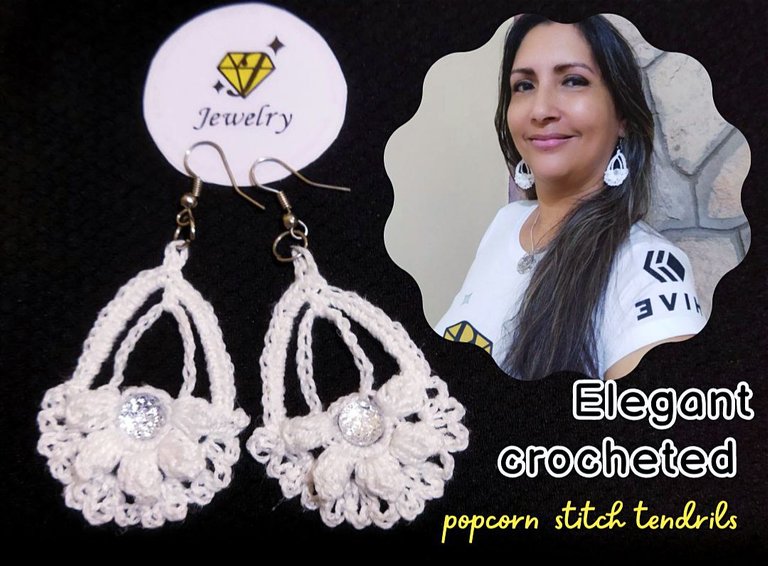

Un saludo mi querida comunidad @Jewelry feliz inicio de semana 💜 estos zarcillos que les comparto hoy me encantan no si es por el color ya que no estoy acostumbrada a usarlo tengo mas tendencia por lo colorido y mas llamativo pero en fin quede enamorada de este diseño se ve super elegante y delicado. Para este diseño voy a realizar un punto de fantasía del tejido a crochet como es es el popcorn y con el voy a formar una especie de media flor que cuelgan de dos cadenas, así que sin mas que decir, ahora materiales en manos que comenzamos con nuestro paso a paso
Greetings my dear community @Jewelry happy start of the week 💜 these tendrils that I share with you today I love them not if it is because of the color since I'm not used to use it I have more tendency for colorful and more flashy but anyway I fell in love with this design looks super elegant and delicate. For this design I am going to make a fantasy stitch of crochet knitting as is the popcorn and with it I will form a kind of half flower hanging from two chains, so without more to say, now materials in hands that we begin with our step by step.

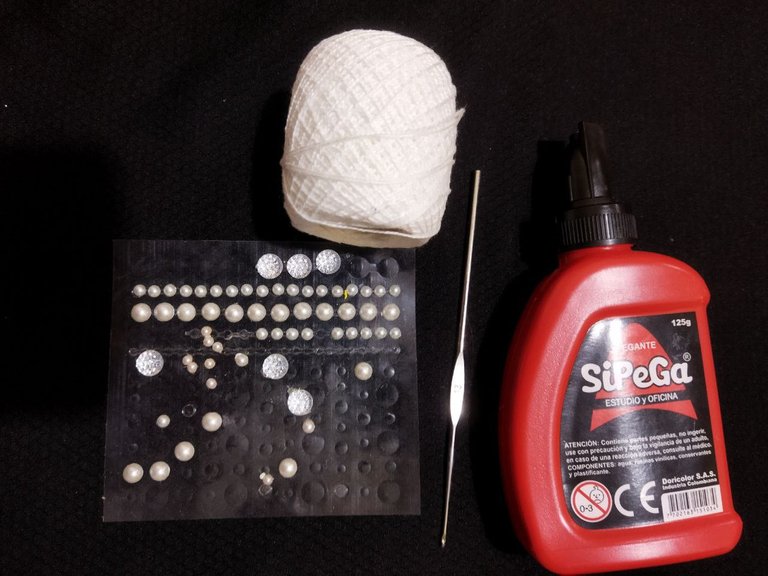
- Hilo para crochet perle algodón
- Aguja para crochet
- Cristales planos autoadhesivo
- Cola blanca para endurecer
- Perle cotton crochet thread
- Crochet needle
- Self-adhesive flat crystals
- White glue for hardening
Iniciamos este nuevo proyecto que les traigo hoy con un estilo diferente al acostumbrado un accesorio un poco mas elegante y delicado. Comenzamos primeramente enrollando el hilo tomando como referencia un lapiz al cual le daremos 6 vueltas para formar un aro, sacamos el hilo de lápiz sin que se desarme y en el vamos hacer 12 puntos bajos en forma envolvente es decir pasando la hebra por dentro de este aro de igual manera como lo hacemos cuando trabajamos con un anillo mágico para finalizar cerramos con un punto deslizado
We begin this new project that I bring you today with a different style than usual, an accessory a little more elegant and delicate. First we start by winding the yarn taking as reference a pencil which we will give 6 turns to form a ring, we take out the pencil yarn without disassembling it and we will make 12 low stitches in a wrapping way that is to say passing the strand inside this ring in the same way as we do when we work with a magic ring to finish we close with a slipped stitch.


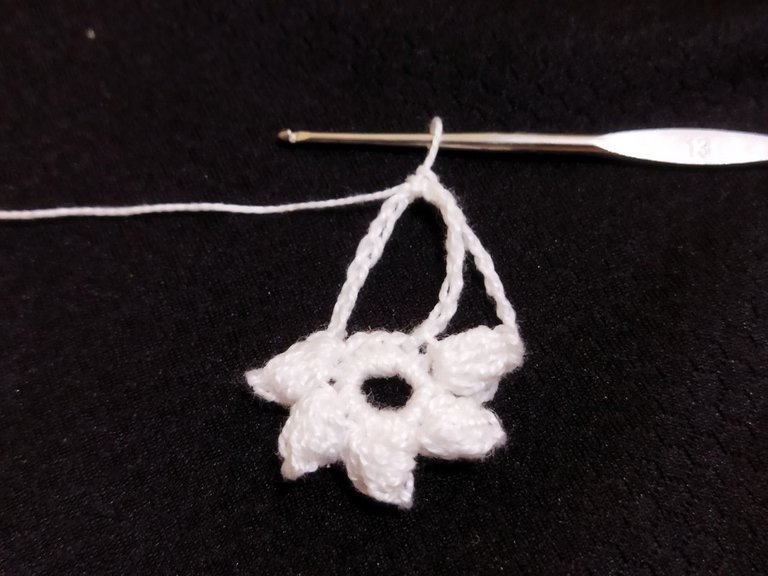
Ahora vamos a elaborar el punto popcorn. Iniciamos elaborando una cadena de 2 puntos y en ese mismo espacio vamos hacer 4 puntos altos para un total de 5 puntos, ahora sacamos la aguja de este ultimo punto y la hacemos pasar por el primero luego por el ultimo punto que hicimos y sacamos la lazada, hacemos 2 cadena y saltamos un espacio y repetimos este paso haciendo el procedimiento antes explicado. Repetimos esta secuencia hasta tener 5 figuras popcorn
Now we are going to make the popcorn stitch. We start by making a chain of 2 stitches and in that same space we will make 4 high stitches for a total of 5 stitches, now we take the needle out of this last stitch and pass it through the first stitch, then through the last stitch we made and take out the loop, we make 2 chain and skip a space and repeat this step doing the procedure explained before. We repeat this sequence until we have 5 popcorn figures.
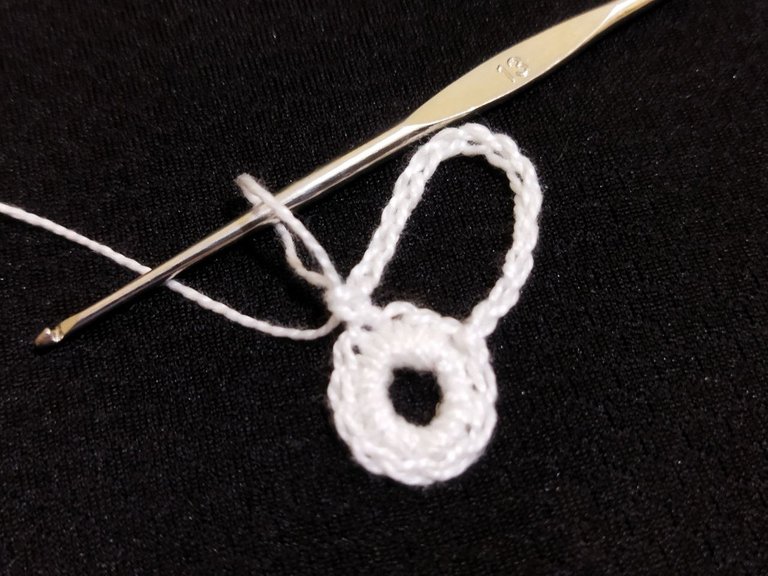

Luego vamos a elaborar una cadena de 8 puntos hacemos un punto bajo el centro de la otra cadena que elaboramos al principio y bajamos nuevamente con una cadena de 8 punto y lo insertamos en el centro de la figura con un punto bajo
Then we are going to make a chain of 8 stitches, we make a low stitch in the center of the other chain we made at the beginning and we go down again with a chain of 8 stitches and we insert it in the center of the figure with a low stitch.


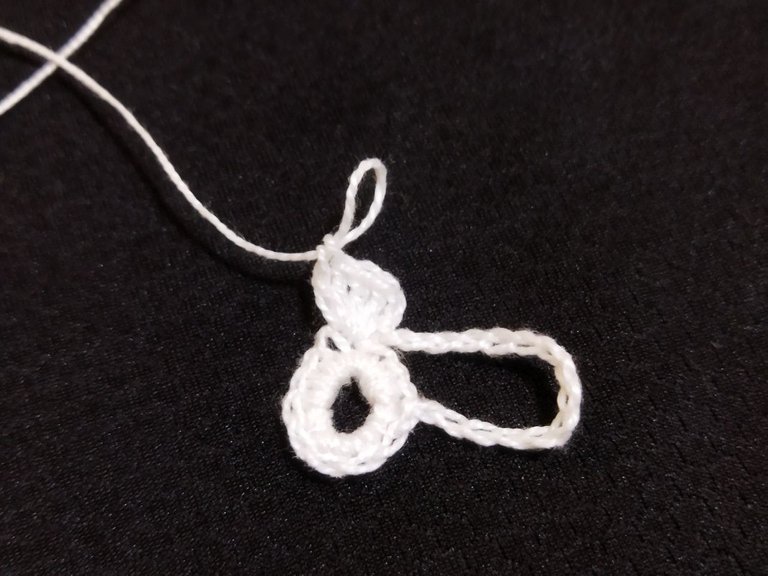
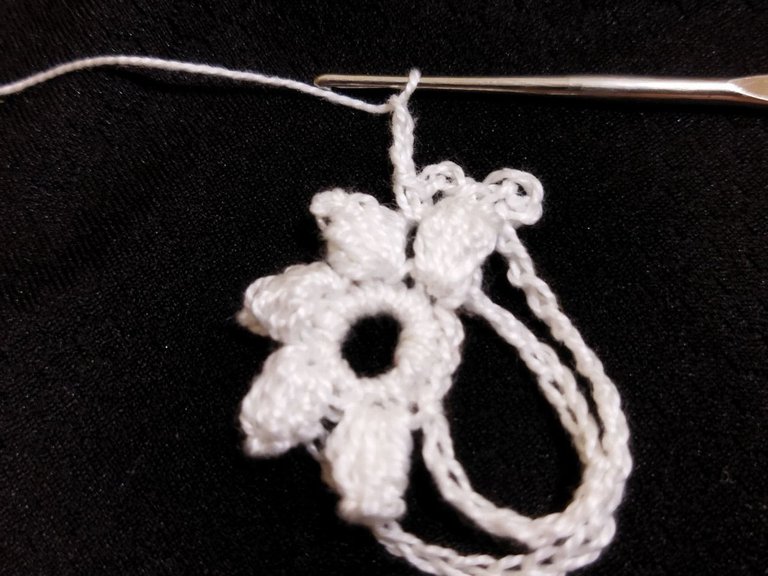
Después elaboramos una cadena de 3 puntos y la insertamos en el mismo espacio con un punto bajo luego repetimos la cadena de 3 puntos pero esta vez la pegamos en el espacio que esta entre las dos figuras y nuevamente hacemos otra cadena de tres puntos y la volvemos a insertar en el mismo espacio, por ultimo elaboramos otra cadena de 3 puntos y la insertamos en el centro de la figura. Esta secuencia la repetimos hasta terminar la vuelta de las 5 figuras o pétalos en relieve
Then we make a chain of 3 stitches and insert it in the same space with a low stitch, then we repeat the chain of 3 stitches but this time we glue it in the space between the two figures and again we make another chain of three stitches and insert it again in the same space, finally we make another chain of 3 stitches and insert it in the center of the figure. We repeat this sequence until we finish the round of the 5 figures or petals in relief.
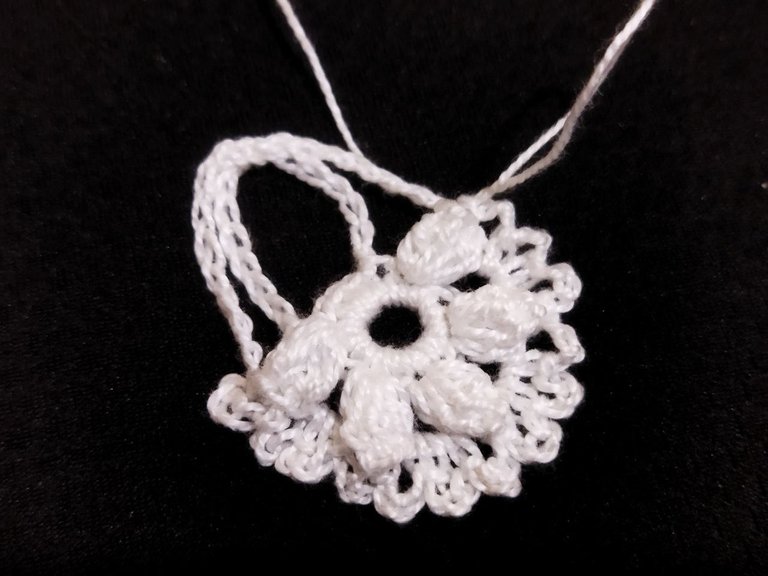
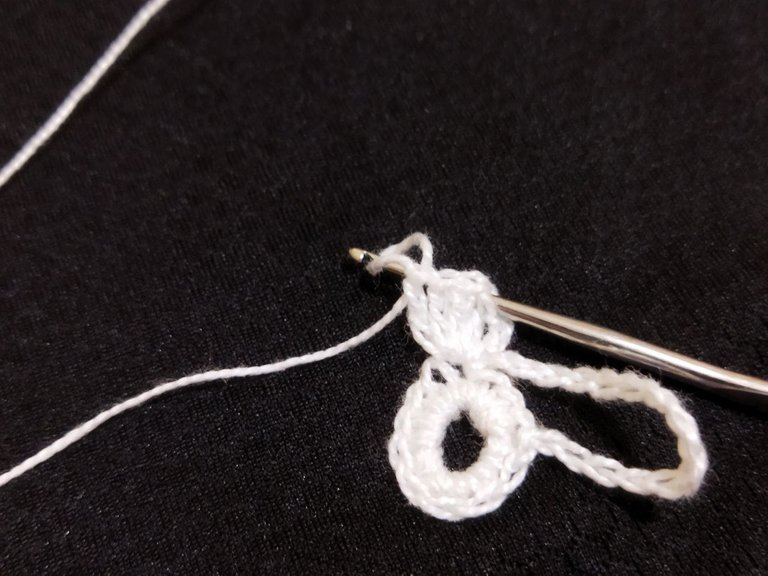
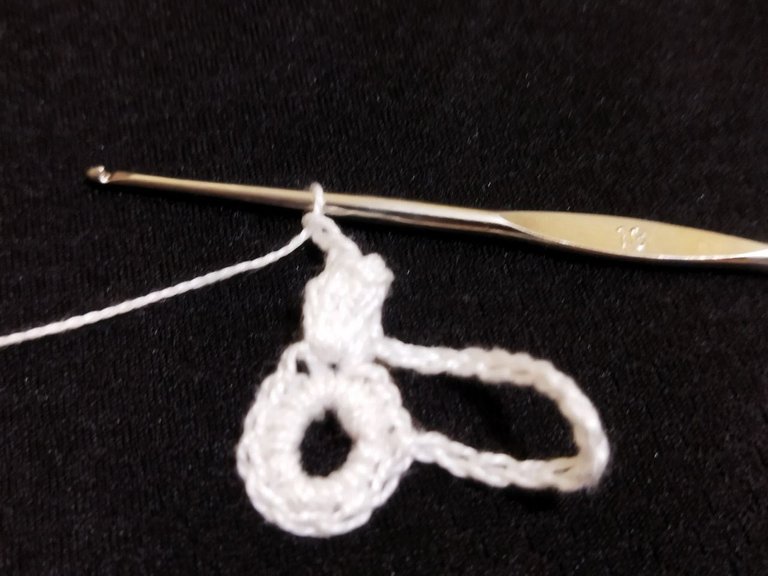
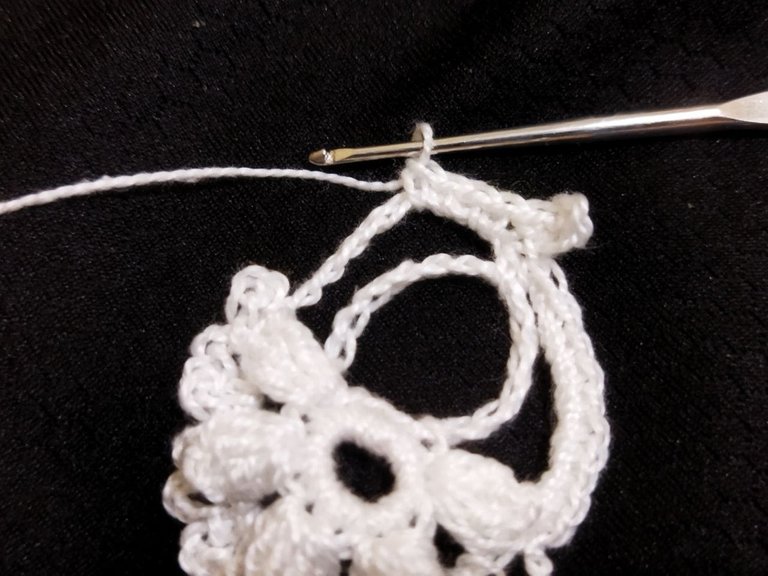
En este ultimo paso solo vamos a elaborar 11 puntos bajos alrededor de la cadena al llegar a la parte del centro o unión de ambas cadena, hacemos una cadena de 3 puntos y la insertamos en el primer punto con un punto bajo y continuamos elaborando los siguientes 11 puntos bajos en el otro extremo de la cadena para culminar con un punto deslizado. cortamos el hilo y escondemos el sobrante. Todos estos pasos los vamos a repetir para elaborar de igual manera el otro zarcillo
In this last step we are only going to make 11 low stitches around the chain when we reach the center or union of both chains, we make a chain of 3 stitches and insert it in the first stitch with a low stitch and continue making the following 11 low stitches in the other end of the chain to finish with a slipped stitch. we cut the yarn and hide the excess. We are going to repeat all these steps to make the other tendril in the same way.


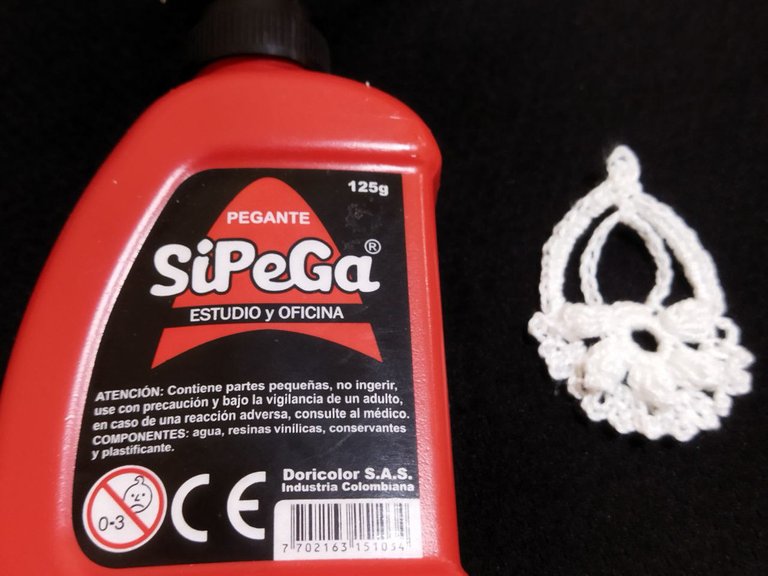
Una cosa que me gusta hacerle a los accesorios tejidos a crochet en especial a lo zarcillos es endurecerlos para que de esta manera no se deforme el diseño al usarlo y esto lo hago aplicando un poco de cola blanca a la pieza con la yema de los dedos y aprovecho para acomodar el tejido y darle la forma deseada,luego dejo secar bien. seguidamente le coloco los detalles faltantes a la pieza como es en el centro un cristal plano y en la parte superior el anzuelo para zarcillo
One thing I like to do to the crocheted accessories, especially to the tendrils, is to harden them so that the design does not deform when used, and I do this by applying a little white glue to the piece with the fingertips and take the opportunity to accommodate the fabric and give it the desired shape, then let it dry well. then I place the missing details to the piece as in the center a flat glass and at the top the hook for tendrils.

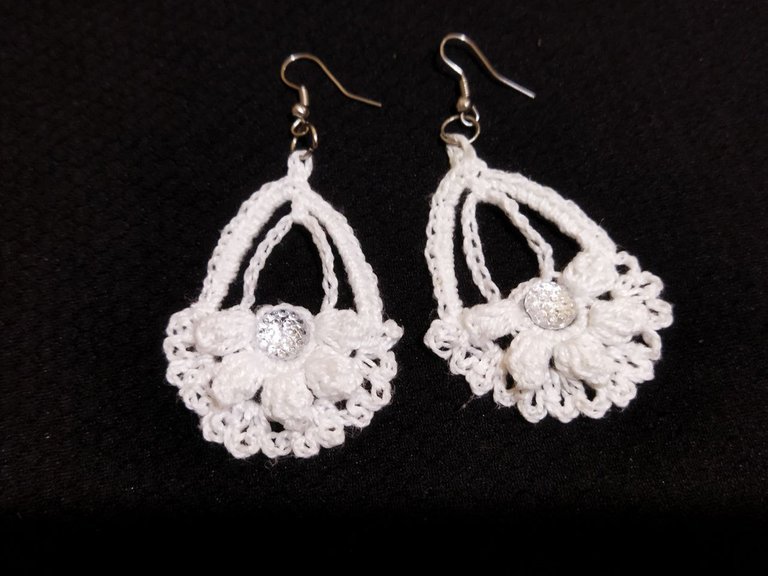
Ahora si Listo!!! ya culminamos con este hermoso proyecto como fue elaborar unos zarcillos tejidos a crochet utilizando el punto popcorn, es un diseño que me encanto ademas no inviertes mucho tiempo en su fabricación.Con esmero y dedicación podemos lograr muchas cosas que nos proponemos
!! Un saludo y nos vemos en una próxima oportunidad!!
| Pueden seguirme en 💙: | You can follow me on 💙: |
|---|---|
| eveyese1312 | |
| Discord | eveyese1312#6211 |
Las fotos y el contenido son de mi autoria tomadas con mi teléfono POCO M3
Imágenes editadas en PowerPoint Canva y PicMonkey
Para la traducción usé el traductor: DeepL
The photos and content are my own.
Images edited in PowerPoint Canva and PicMonkey
For the translation, I used the translator: DeepL
Wow, a beauty to behold, i like the purity of the colour and since it's even yarn it can be washed if it got dirty
Thanks so much, I'd give this a try if I can make it I'd tag you
Thank you very much I'm glad you liked it, I really loved the result of this project and encourage you to elaborate some of them, any questions I am at your service. A thousand blessings ☺️
It's my pleasure ma'am
!discovery 35
Gracias por tu apoyo amiga
This post was shared and voted inside the discord by the curators team of discovery-it
Join our Community and follow our Curation Trail
Discovery-it is also a Witness, vote for us here
Delegate to us for passive income. Check our 80% fee-back Program
Esta bello amiga
Muchas gracias me alegra que te hayan gustado. Muchas bendiciones en esta nueva semana 😇
Bello me encanta tejidos gran técnica al tejer zarcillos