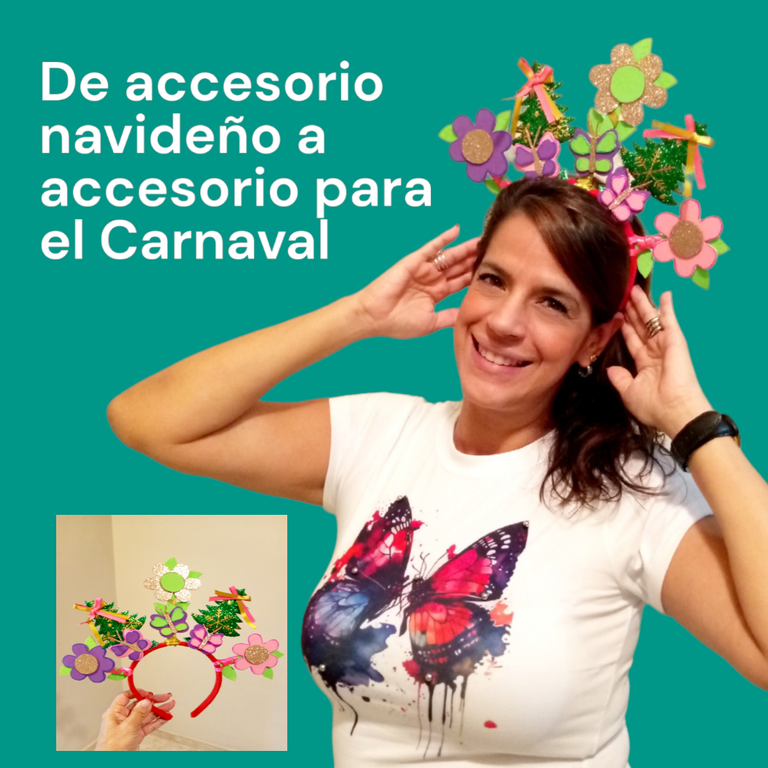
Transformando un Cintillo para Carnaval -Tutorial // Transforming a Headband for Carnival -Tutorial 🎭

El carnaval me trae algunos recuerdos, de cuando era niña, me gustaba disfrazarme para ir a la fiesta que hacían en la escuela, eran los tiempos en que mi mamá me daba permiso hasta para usar lápiz labial jajaja, y corrías con los compañeros imaginando que éramos los personajes de los que nos disfrazaban.
Ya estando más grande el carnaval era sinónimo de vestir con colores llamativos y de improvisar disfraces para asistir a las fiestas que organizaban los amigos. Ahhh también era de sentarme en las aceras a ver pasar las carrozas y de esperar a ver si algún caramelo me caía cerca mientras gritaba: Aquí es, Aquí Es !! 😂
Quise contarles algo sobre mi, en relación a estas fechas de carnaval, pero ahora sí, te voy a invitar a ver este tutorial sobre la transformación que hice de un cintillo navideño a un cintillo de carnaval.
Carnival brings back some memories, from when I was a child, I liked to dress up to go to the party that they did at school, those were the times when my mom gave me permission to use lipstick hahaha, and you ran with classmates imagining that we were the characters we were dressed up as.
When I was older, carnival was synonymous with dressing up in bright colors and improvising costumes to attend the parties organized by friends. Ahhh, I also used to sit on the sidewalks to watch the floats go by and wait to see if any candy would fall near me while shouting: Here it is, here it is! 😂
I wanted to tell you something about me, in relation to these carnival dates, but now I'm going to invite you to watch this tutorial about the transformation I made from a Christmas headband to a carnival headband.
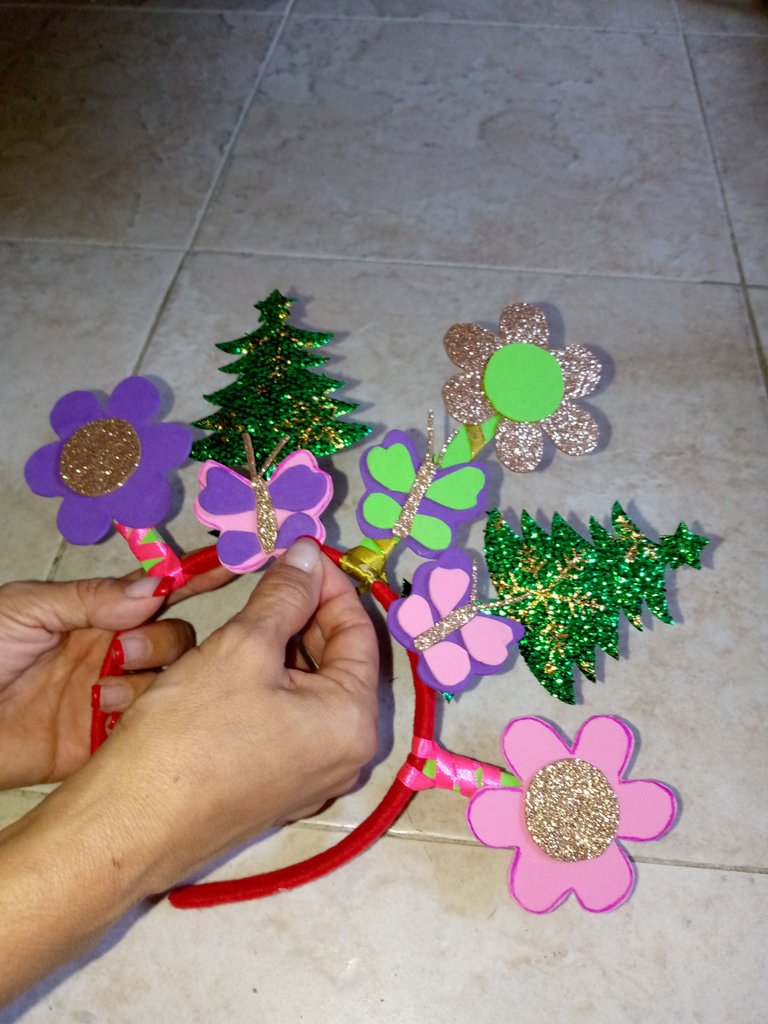
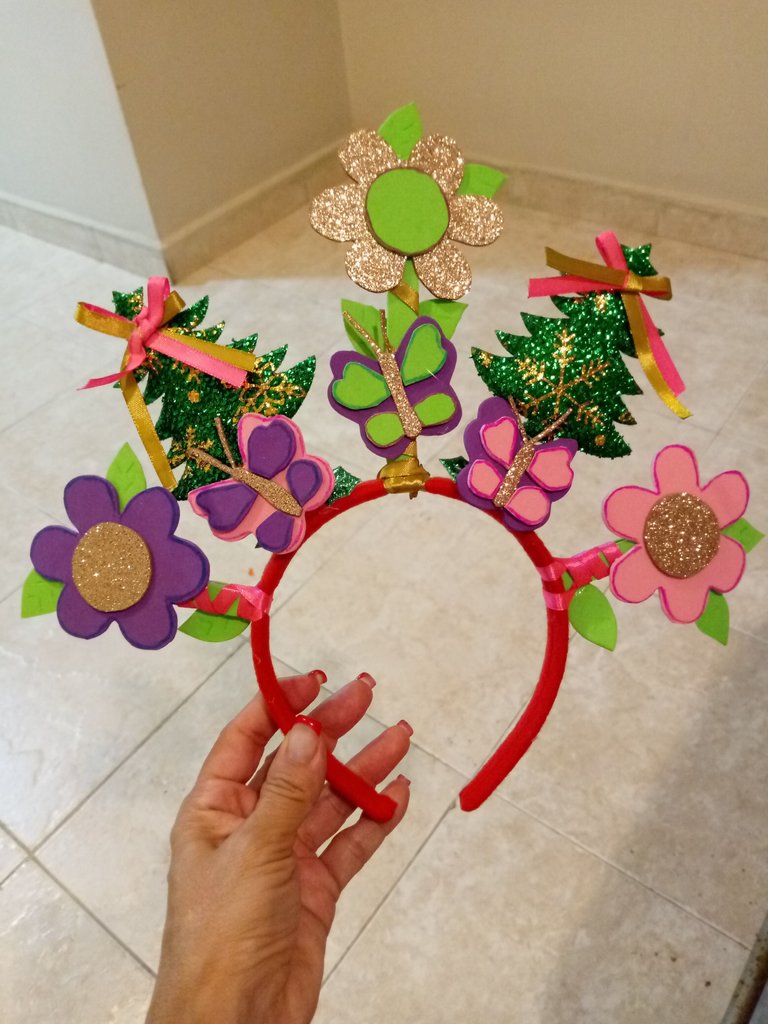
Primero utilicé un cintillo que tenía guardado con par de arbolitos, mi primer pensamiento fue quitarlos y empezar desce cero a decorarlo, por supuesto con motivo del carnaval, luego me dije ¿y por qué quitarlos ? y quién dice que los pinos son sólo sinónimo de Navidad jajajajajaja, y la verdad es que son muy cuchis y tienen mucho brillo que combinarian muy bien con el foami escarchado.
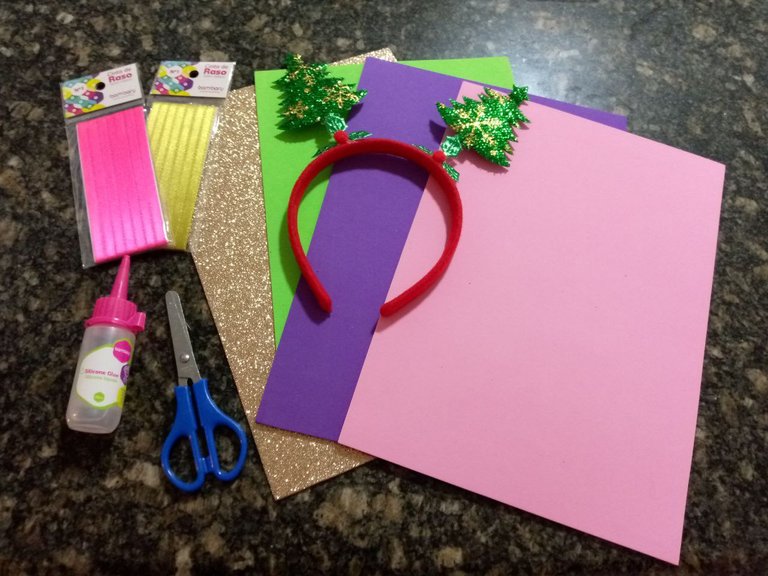
Los materiales que utilicé te los indico a continuación:
For this initiative I used a headband that I had saved with a couple of trees, my first thought was to remove them and start from scratch to decorate it of course for the carnival, then I said to myself and why remove them? and who says that the pines are only synonymous with Christmas hahahahahahaha, and the truth is that they are very cute and have a lot of brightness that would combine very well with the frosted foami. The materials I used are listed below:
- 1 cintillo o diadema
- Cintas de raso Nº 1 de colores dorado y fucsia
- Foami de colores lila, verde, dorado y rosa
- Cartón
- Silicón líquido
- Marcadores de colores
- Regla
- Làpiz
- Tijera
- Hoja blanca para dibujar los figuras
- 1 headband
- Gold and fuchsia satin ribbons Nº 1
- Lilac, green, gold and pink colored Foami
- Cardboard
- Liquid silicone
- Colored markers
- Ruler
- Pencil
- Scissors
- White sheet to draw the figures
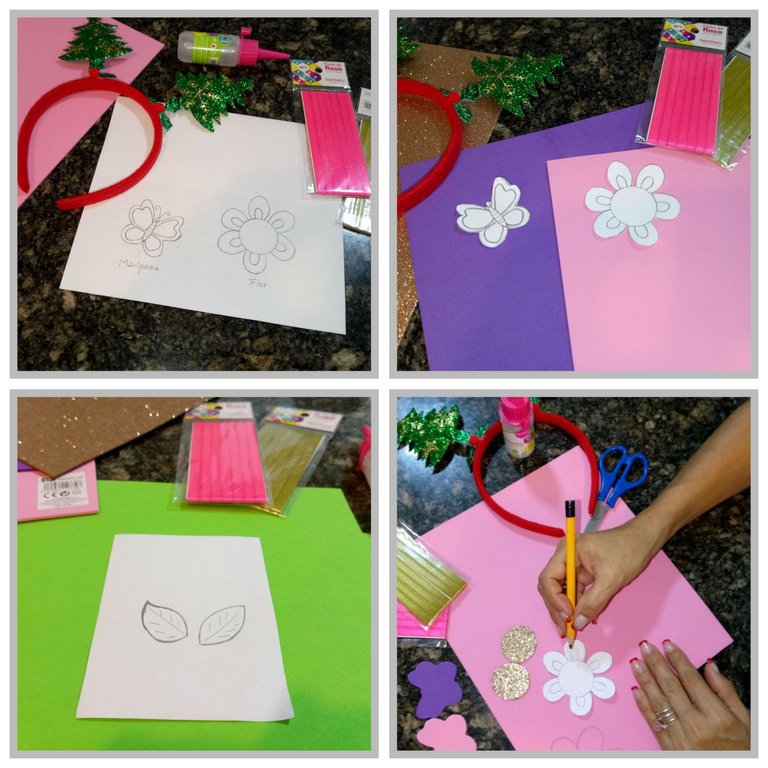
PASO 1 : Definí el diseño que quería, dibujé en una hoja de papel blanco usando Internet para obtener los moldes, los compañeros de los árboles serían tres flores y algunas mariposas, luego transferí las formas al Foami, primero todo el exterior de las piezas, luego corté las formas del interior para obtener las alas de las mariposas. El centro de las flores los hice con ayuda de una tapita plástica.
STEP 1 : I defined the design I wanted, I drew on a white sheet of paper using the Internet to get the molds, the tree partners would be three flowers and some butterflies, then I transferred the shapes to Foami, first the whole outside of the pieces, then I cut the shapes inside to get the wings of the butterflies. I made the center of the flowers with the help of a plastic cap.
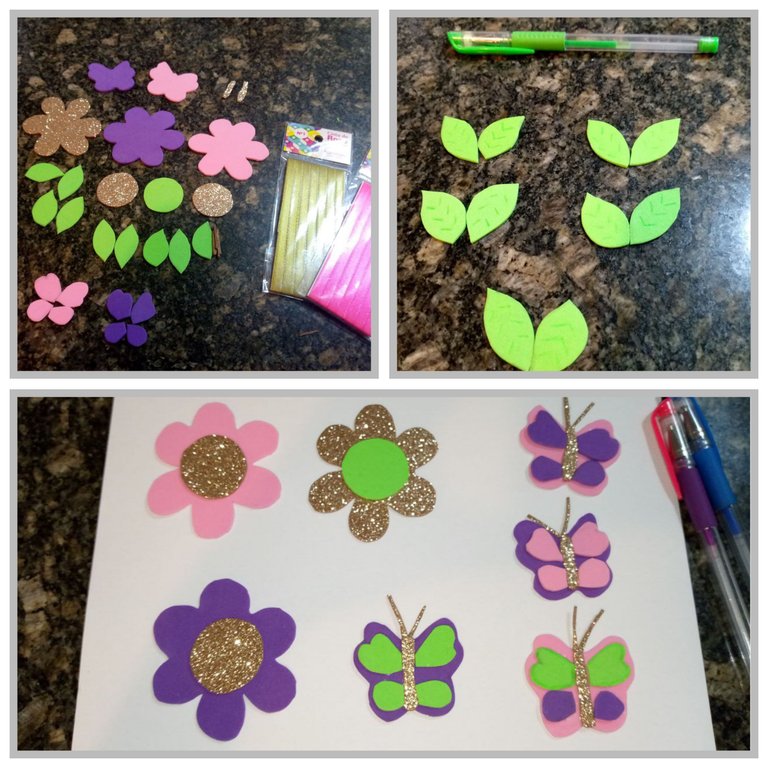
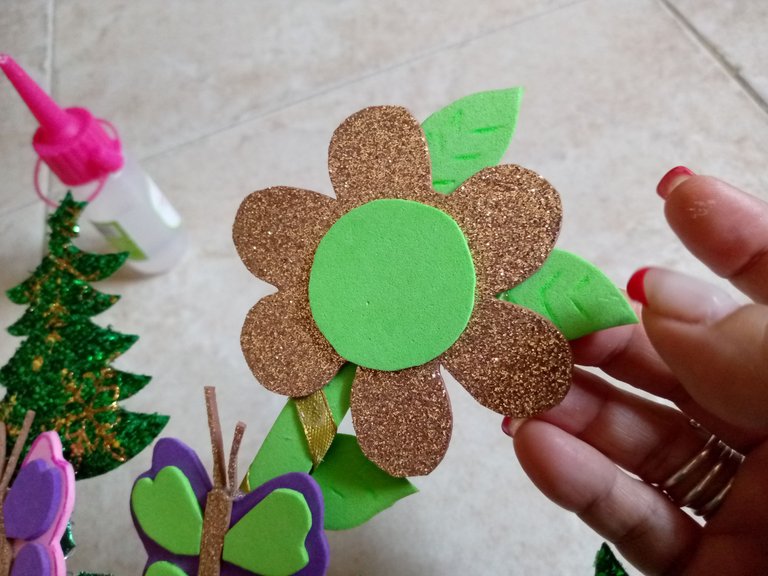
PASO 2: Recorté cada pieza de Foami, utilizando los colores morado, rosa, verde y dorado para las flores y las mariposas. Recorté varias piezas de Foami verde para las hojas de las flores. Luego pegué con silicón líquido los círculos al molde de flor y las piezas pequeñas al molde de las mariposas para formar las alas. Con un marcador verde marqué algunas lineas a las hojas.
STEP 2: I cut out each piece of Foami, using purple, pink, green and gold for the flowers and butterflies. I cut out several pieces of green Foami for the leaves of the flowers. Then I glued the circles to the flower mold with liquid silicone and the small pieces to the butterfly mold to form the wings. With a green marker I marked some lines on the leaves.
PASO 3: Para formar los tallos de las flores, recorté el cartón que venía con el paquete de cinta de raso y utilicé una regla para medir y dibujar líneas de 1 cm de ancho. Corté y doblé un poco en el extremo para hacer una base para pegar al cintillo. Con el molde, dibujé unas tiras en el Foami verde para forrar el cartón por ambos lados.
STEP 3: To form the stems of the flowers, I cut out the cardboard that came with the package of satin ribbon and used a ruler to measure and draw lines 1 cm wide. I cut and folded a little at the end to make a base to glue to the headband. With the mold, I drew some strips on the green Foami to line the cardboard on both sides.

PASO 4: Llegó el momento de pegar las flores al cintillo, pegué una en el centro y otras dos irían al lado de cada árbol, recorté un poco las dos últimas para que lucieran bien, ahora la idea era sujetar los tallos al cintillo para que la gravedad no hiciera que se movieran hacia delante, aquí utilicé las cintas de raso no solo para decorar los tallos sino también para sujetarlos firmemente.
STEP 4: It was time to glue the flowers to the headband, I glued one in the center and two others would go next to each tree, I cut a little the last two to make them look good, now the idea was to attach the stems to the headband so that gravity would not make them move forward, here I used the satin ribbons not only to decorate the stems but also to hold them firmly.
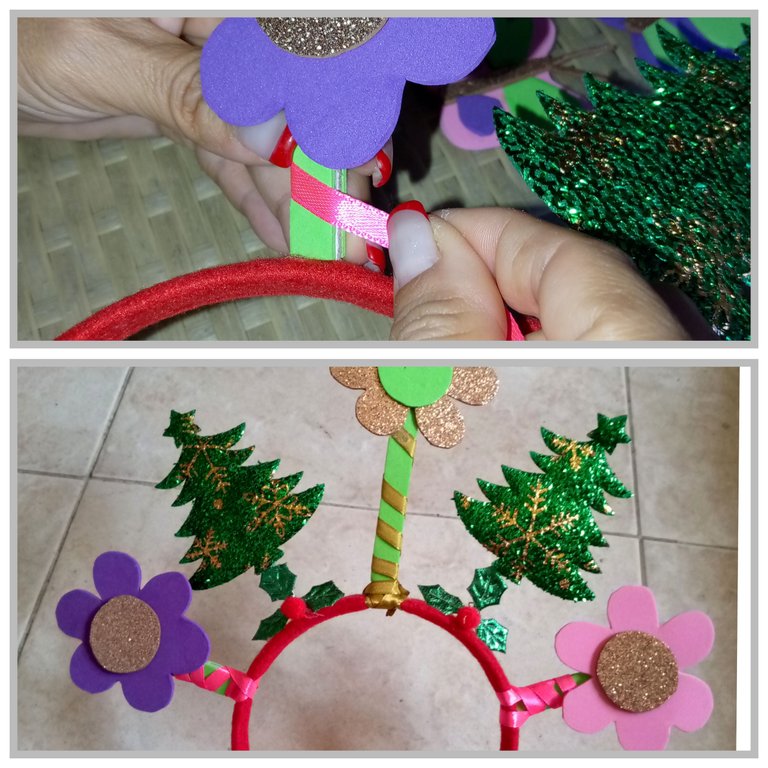
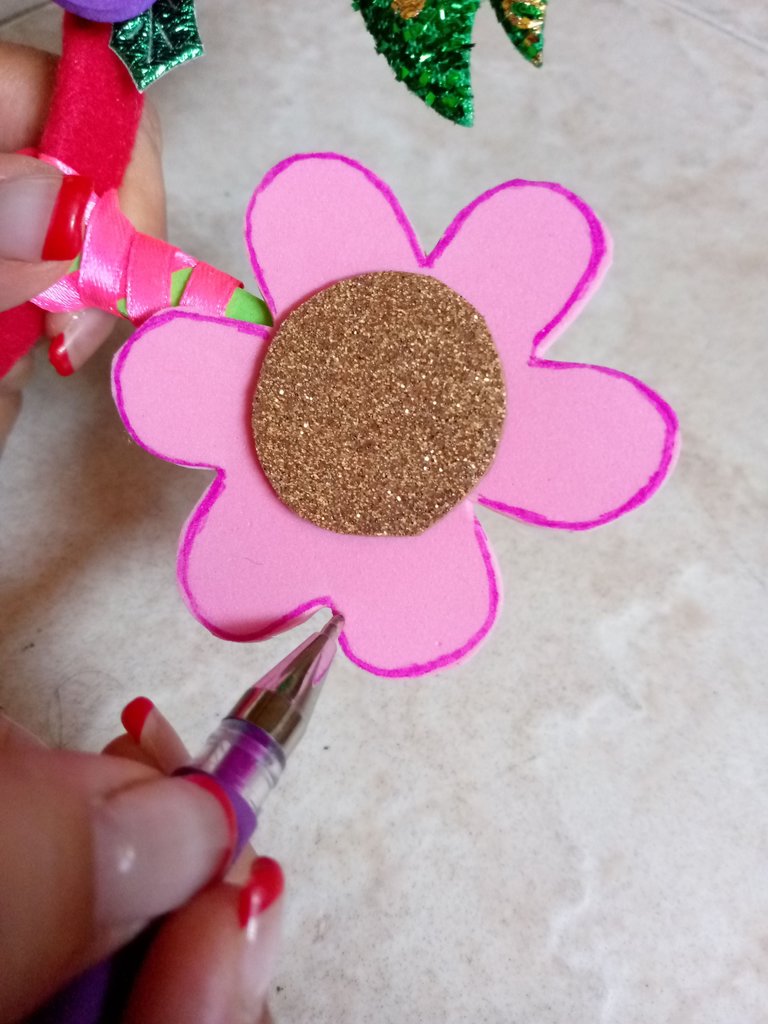
PASO 5: Después pegué las mariposas y las hojitas a las flores. Con marcadores pinté los bordes de las flores y alas de las mariposas. Adorné los arbolitos con lazos hechos con las cintas de raso.
STEP 5: Then I glued the butterflies and leaves to the flowers. With markers I painted the edges of the flowers and wings of the butterflies.I decorated the trees with bows made with satin ribbons.
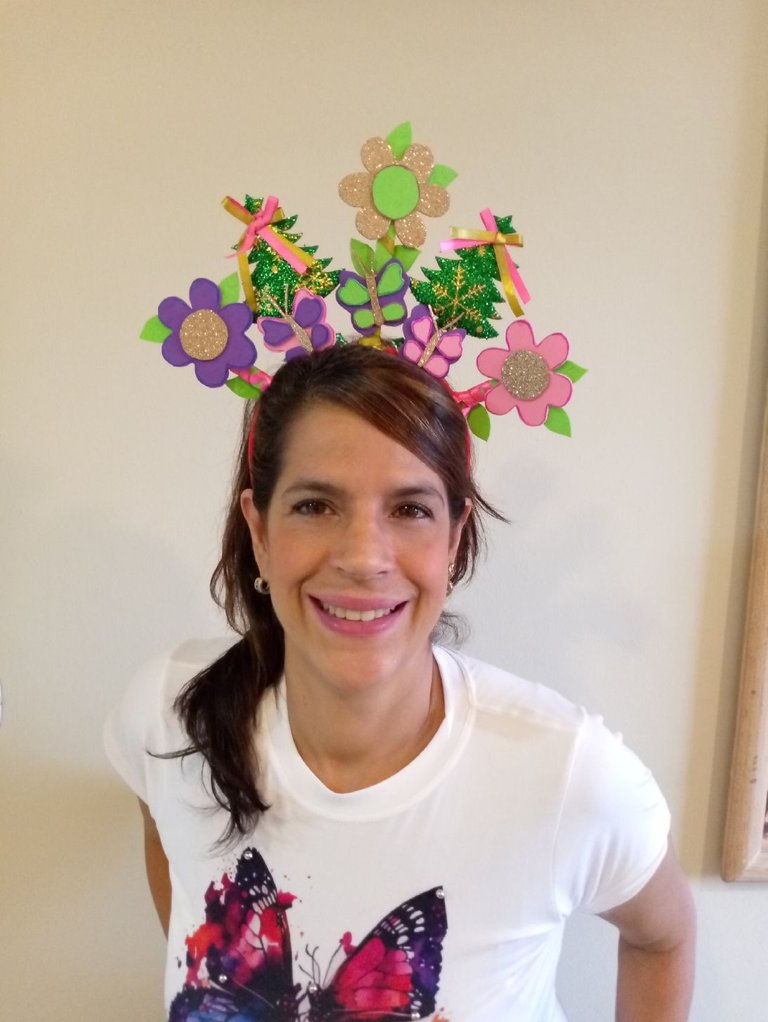
Y así es como hice este colorido accesorio, utilizando un cintillo de una temporada pasada (navidad) , con sólo algunos cambios y pocos materiales.
La idea es reciclar, utilizar lo que tenemos en casa y crear con nuestras propias manos 👐
And that's how I made this colorful accessory, using a headband from a past season (Christmas), with just a few changes and few materials.
The idea is to recycle, use what we have at home and create with our own hands 👐
Debo mencionar que esta publicación era para participar en la iniciativa propuesta por la comunidad, pero esta vez llegué tarde 😪 pero no quise dejar de hacer mi aporte, estaré más activa para la próxima 🙏
Y hasta aquí este tutorial, esperando haya sido de tu agrado. Tus sugerencias y comentarios siempre serán bienvenidos.
Con cariño...
Mercedes 💜
And so far this tutorial, I hope you enjoyed it. Your suggestions and comments are always welcome.
With love...
Mercedes 💜

Todas las fotografías fueron tomadas con mi telefóno móvil // All photos were taken with my mobile phone.
Collages realizados en App GridArt y Portada editada en Photoroom // Collages made in App GridArt and Cover edited in Photoroom
Separadores realizados en Canva // Dividers made in Canva
Traducción realizada con www.deepl.com // Translation made with www.deepl.com

Que hermoso quedó😍😍😍
Gracias bella ❤️
Ooow que bonito cintillo, se nota la relación con la fecha de carnaval, cuando eras niña, aunque el carnaval.es para todas las edades para sacar ese niño interior que hay entre nosotros.
Nos encanta el trabajo que nos regalas hoy, un trabajo maravilloso, y un paso a paso genial.
¡Qué comentario tan bonito!
Hacer esta cintillo me hizo conectar con mi niña interior, me emocioné tanto que quise compartir algo de lo vivido en esos tiempos de carnaval.
Muchas gracias, qué alegría saber que les gustó mi trabajo 💟.
The transformation showed new creative work of idea. The designing of those flowers that made up the carnival wear must have cost you a lot.
Hello @apunawu thank you for commenting, yes I spent a few hours to transform the piece to fit the carnival theme. I was very careful with the details both in the cutting of the pieces and in the decoration.
https://reddit.com/r/blogs/comments/1avf8wx/transformando_un_cintillo_para_carnaval_tutorial/
The rewards earned on this comment will go directly to the people( @yolimarag ) sharing the post on Reddit as long as they are registered with @poshtoken. Sign up at https://hiveposh.com.
Muy lindo tu cintillo de carnaval. Me encantó.
Gracias @babyl ❤️ por pasarte y dejarme tu comentario.
Me alegra que te haya gustado.
La transformación de este accesorio es muy creativa. Incorporar los árboles navideños, algo que sólamente vemos en navidad y difícilmente lo vemos fuera de época, fue un gran reto y lo lograste muy bien.
Hola amiga @artsugar es un gusto tenerte por acá.
Gracias, Gracias ¡¡¡
Que bueno que te gustó el cambio que se le realizó a la pieza
Valoro mucho tu observación 🥰
Dios bendiga tus manos y talento amiga, que bello cintillo.
Amén @belena2128
Gracias por tus palabras y por visitar mi blog 🤗❤️
Me alegra saber que te gustó el cintillo.
Hermoso post. Super bien explicado.
Felicitaciones! 😍
Gracias @waldelgado me alegra saber que fue de tu agrado.
Tu comentario me impulsa a seguir haciéndolo bien ❤️