Artillery Genius 3D Printer Review
I have previously reviewed the Artillery Sidewinder X1 and since that time they have relased a smaller slightly different version called the Genius. It is meant to be very similar, like a baby brother, to the X1. The X1 eventually produced some nice prints for me after troubleshooting with the manufacturer. The Artillery Genius 3D printer costs $368 USD at the time of writing this article from their AliExpress shop linked from the Artillery website. Let's see how the Genius does...
Specifications
- Build Volume: 220 x 220 x 250 mm
- Extruder Style: Direct Drive (Titan Style)
- Hot End: Volcano Style
- Nozzle size: 0.4 mm
- Max. hot temperature: 240 °C
- Max. heated bed temperature: 130 °C
- Filament Diameter: 1.75mm
- Connectivity: USB Stick, SD-Card
- Print recovery: Yes
- Filament sensor: Yes
Unboxing & Assembly
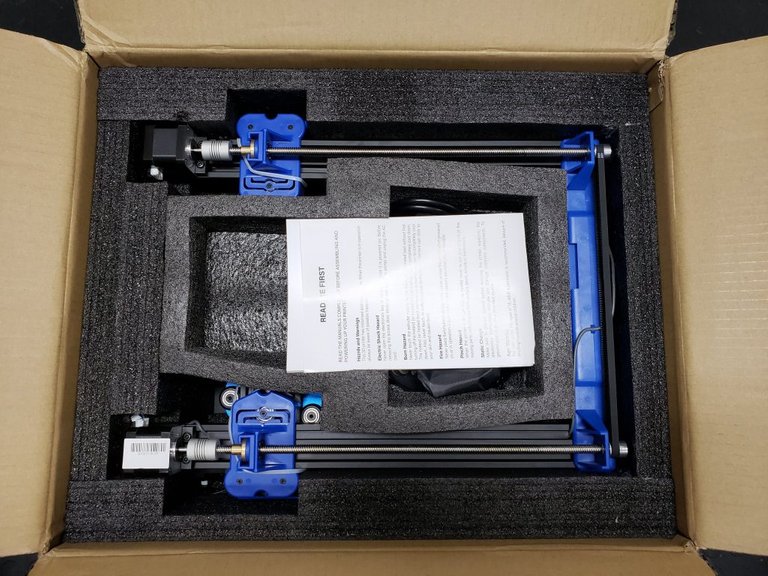
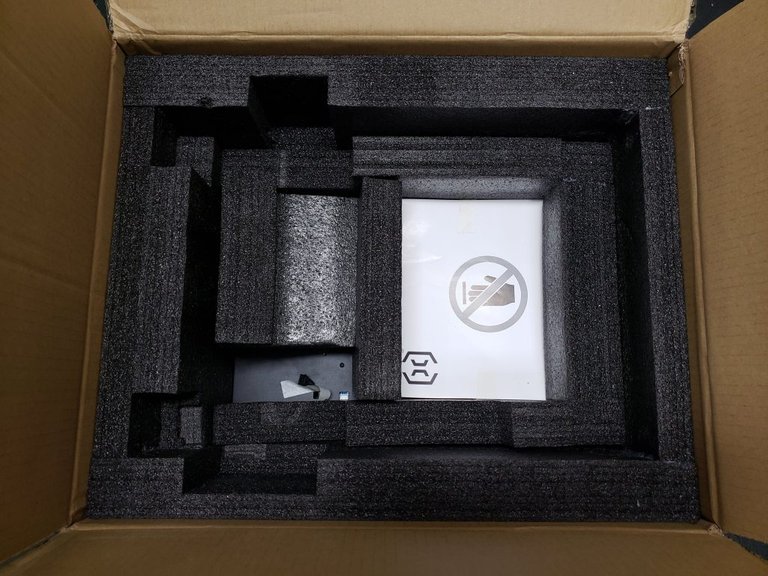
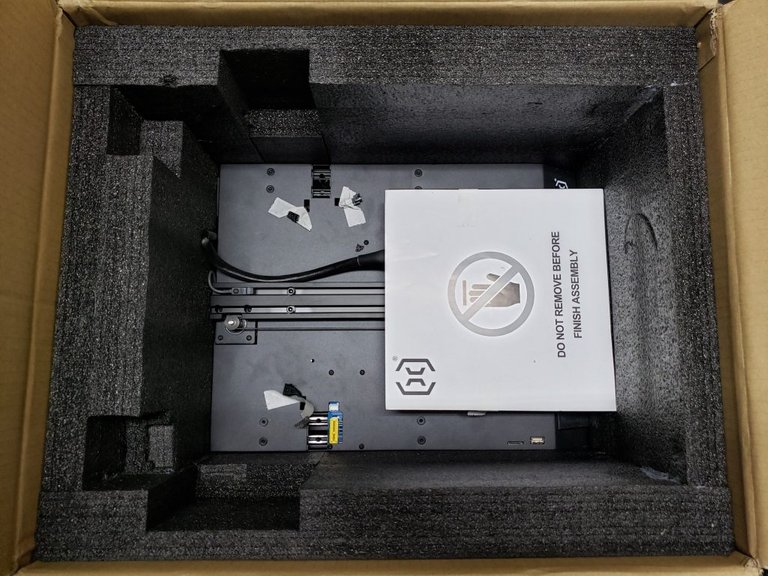
Everything appeared to be well packed and undamaged when I received the Artillery Genius 3D printer unlike the two previous X1s I received damaged from shipping. The printer was packaged nicely with typical black foam.
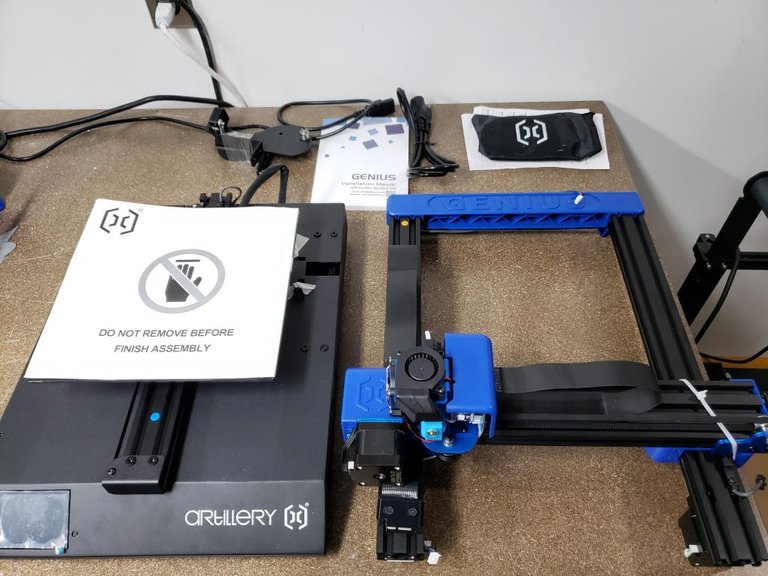
Assembly was meant to be very straight forward. The instructions are clear and the steps are quite easy. After fully assembling the printer I encountered my first issues. The x carriage gantry was loose and no matter how many adjustments were made to the eccentric nut on the bottom wheel, the carriage remained loose. It was very frustrating.
Problems from the start
I attempted to loosen every wheel and adjust the screw inside of the hole in the carriage to minimize the distance between the top and bottom wheels but this did not solve the problem. I then put a straight edge on the carriage and noticed it was slightly bowed and therefor no matter what adjustment I made the centre distance of the wheels would never be close enough to allow a tight and stable x carriage. I had the same issue with the bed carriage. I put the review on hold while I waited for a new x-carriage and bed carriage from Artillery.

Once the new carriages arrived I swapped them out. To my surprise, a direct swap did not work. I had to again loosen all the screws, and attempt to minimize the distance between the top and bottom wheels to have enough adjustment with the eccentric nut to tighten the carriage onto the extrusion. There is definitely a tolerance issue that Artillery should address on these X carriages. I haven't experienced this issue on any other printer I've assembled in the past.
Printing
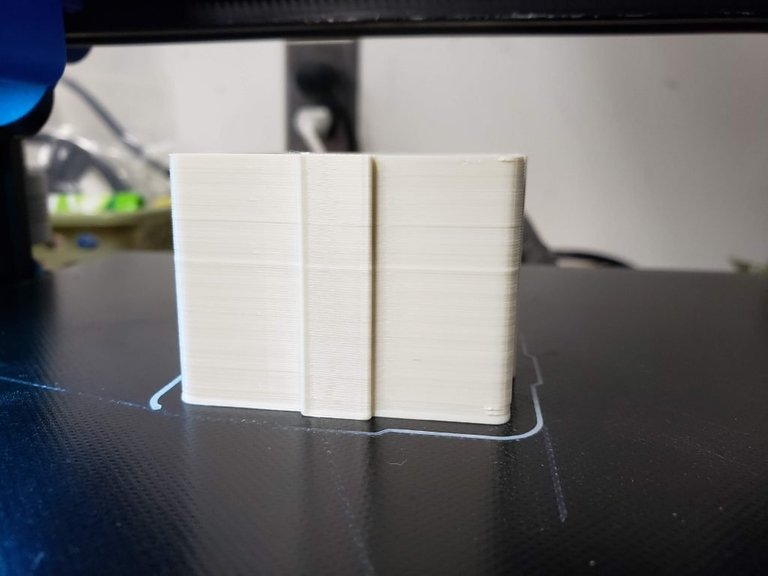
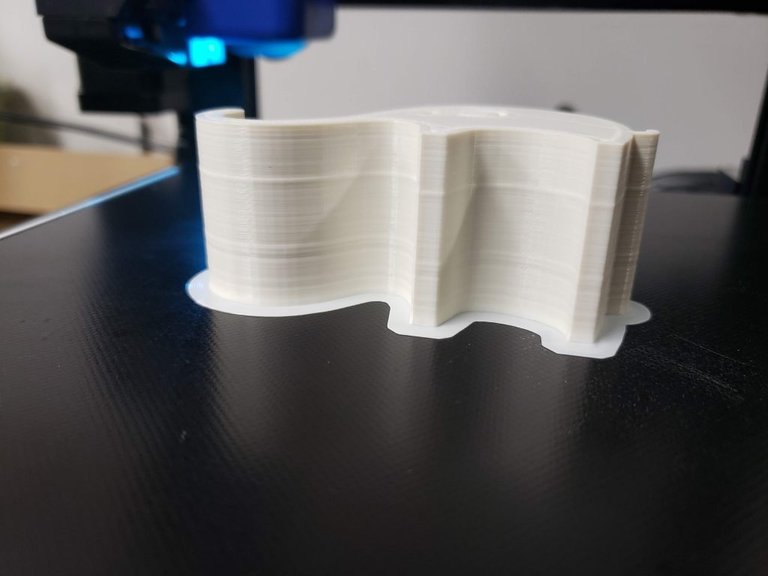
With the bed and x carriage finally adjusted perfectly I was able to start printing. The results were poor. There are very inconsistent layers and z banding.
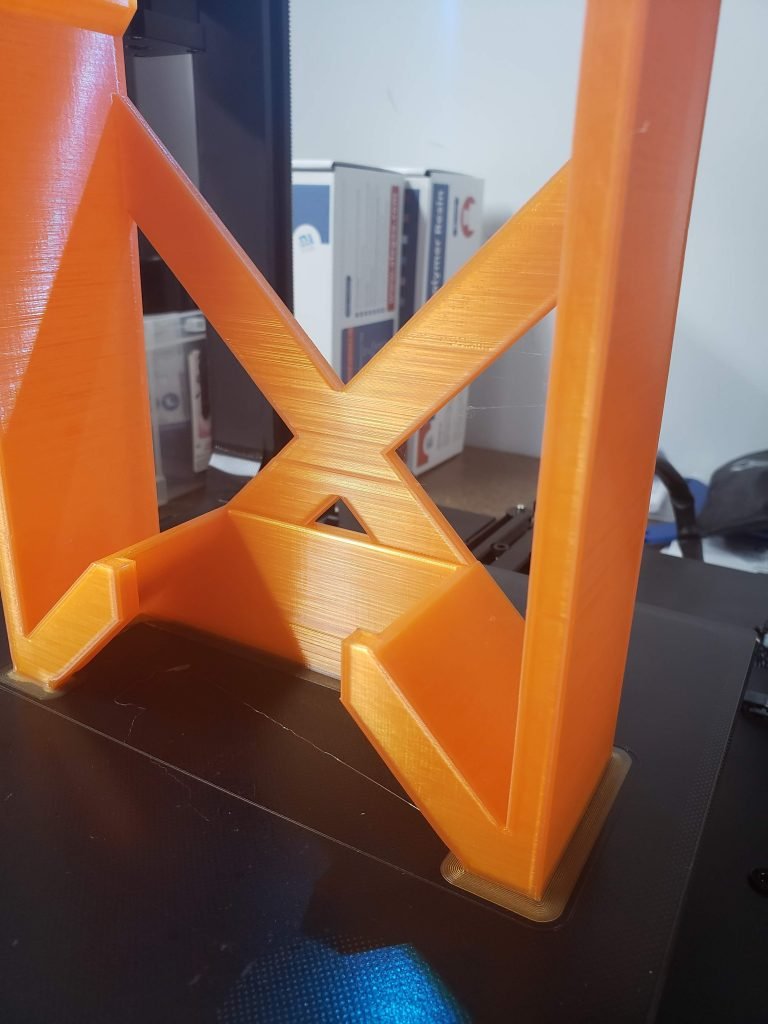
I was directed to support where I tried a variety of things and that's when I discovered that the z axis does not use eccentric nuts for adjustment at all. Instead, Artillery uses injection molded pins to hold the wheels in place, which flex, instead of what we are typically used to seeing with most printers that use aluminum extrusions and v-wheels for motion. It's pretty dissapointing to see this design. The screws that hold the injection molded cover on and keep the wheels in place, thread directly into the injection molded plastic pins making a very weak connection that is very easily stripped.

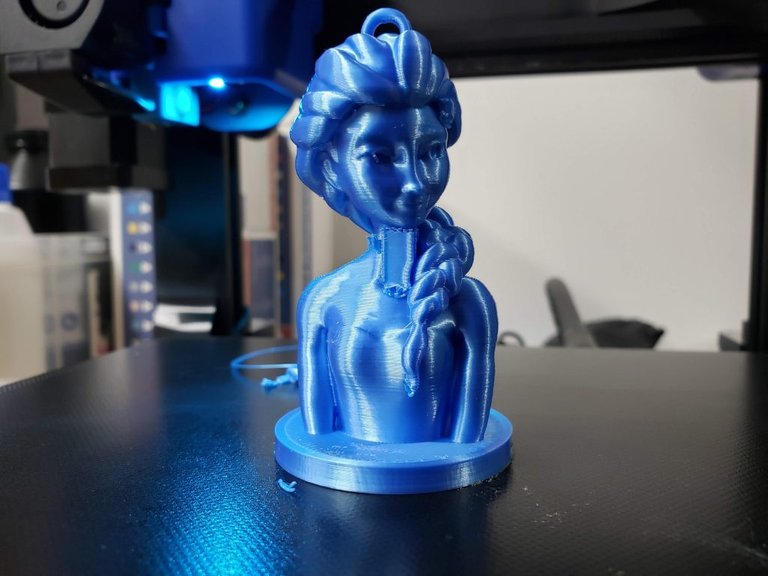
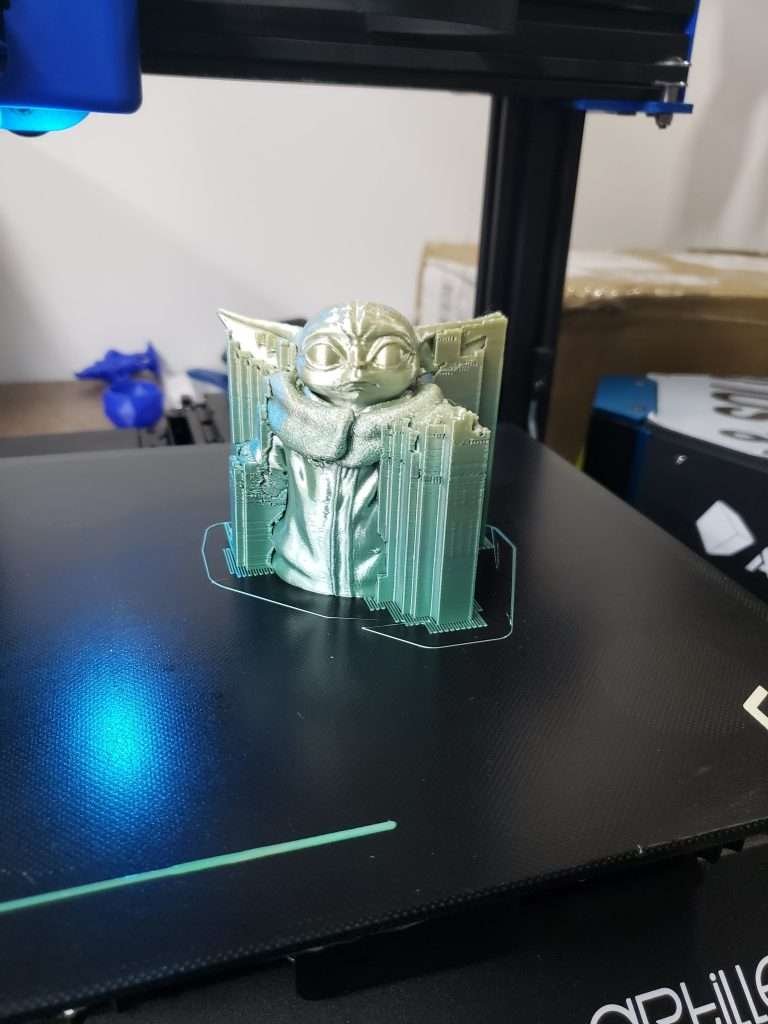
Continuing on with my troubleshooting journey I tried a variety of prints. I confirmed that e-steps were accurate, rebuilt the extruder, rebuilt the z axis, and still cannot get consistently nice prints. The rainbow print was the best, most likely due to the silk filament I used hiding some layer inconsistencies however it still shows some banding in locations.

Support from Artillery has been responsive but slow. You open a ticket on their website and wait for a response. Once you respond to their request, you wait some more, usually a day or two and then if they happen to have some suggestions you try those and respond back. While I credit them for having a ticket system, their support team have been unable to solve the issues with this particular printer.
Conclusion
The Artillery Genius 3D printer does have some nice features. It is very quiet, has a direct drive extruder, and a responsive touchscreen. The build surface usually held my prints down, and the dual z axis setup is meant to provide a nice stable platform. However my results have been poor from the beginning.
The poor QC on the carriages, combined with the ineffective injection molded components, should not exist on what I would consider a premium entry level printer with its price tag. The build volume rivals the likes of other very popular entry level 3D printers, however it costs much more with the features they've included.
I have seen some truly nice prints in the Genius Facebook group and because of this I do not think that all of the Genius printers suffer from the same issues that mine currently does.
I will continue to work on this printer and update the review if my results do change.
Posted from my blog with SteemPress : https://makerhacks.com/artillery-genius-3d-printer-review/
This post was shared in the Curation Collective Discord community for curators, and upvoted and resteemed by the @c-squared community account.
If you are a community leader and/or contest organizer, please join the Discord and let us know you if you would like to promote the posting of your community or contest.
@c-squared runs a community witness. Please consider using one of your witness votes on us here