Pink Calla Lily Painting Using Coloured Pencils

Hello everyone! First of all, I want to wish everyone a Happy New Year! Today I am going to share an artwork that I completed today. It is a painting of a pink calla lily flower. This is the second time I am painting calla lily flower. In the previous painting, I used oil pastels as my medium and the flower was in a darker shade. This time I wanted to go for a lighter shade of pink using a different medium which is colour pencils.
Tools and Materials
- Staedler Luna colour pencils
- A sheet of paper in a sketchbook
- A mechanical pencil with 2B lead to draw
Step by Step Tutorial
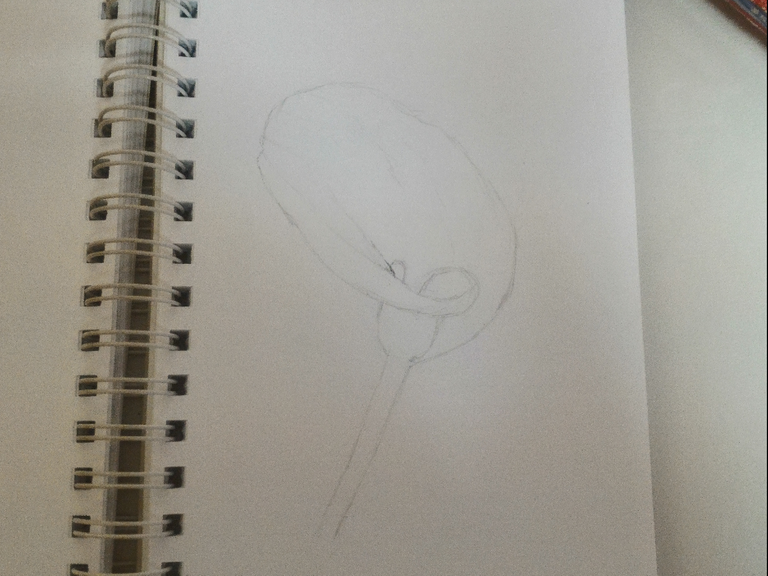
First of all, I drew a calla lily flower using a mechanical pencil with a 2B lead. This choice is purely out of my convenience.

Then, I started of my painting using the lightest colour which is white. I added it on some areas which I wanted to be the highlight parts of the flower. After that, I proceeded to use yellow to colour some of the parts near the highlights.
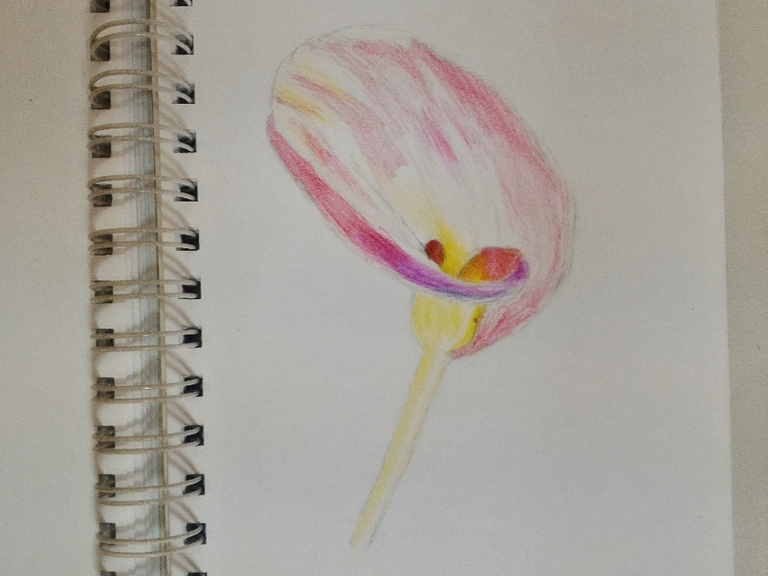
Next, I added some pink and light purple to certain parts of the flower. At the beginning stages, it is best to add colours with less pressure and build up your layers gradually. This can be done by holding your colour pencil far from the tip. The further you hold it, the lesser the pressure that you will apply.
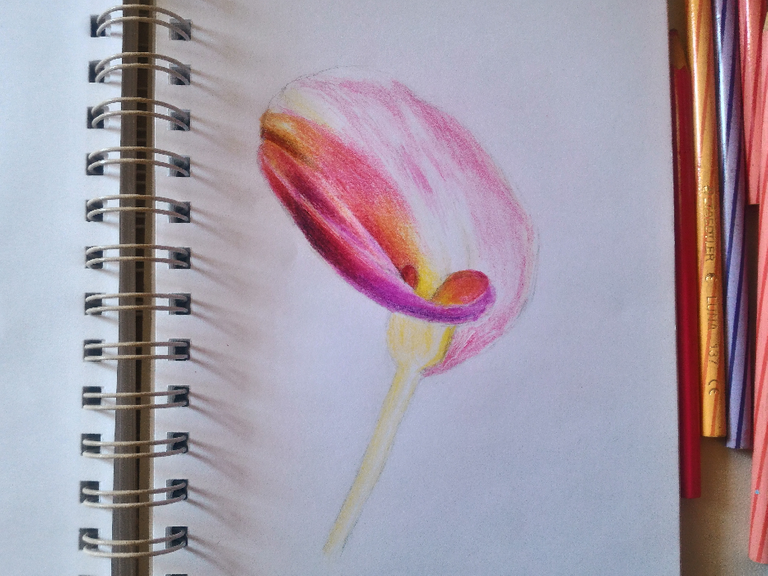
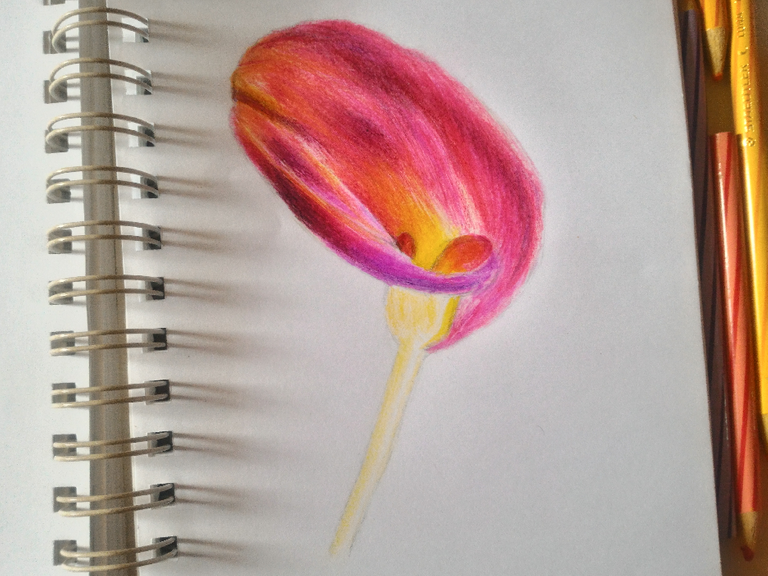
At this stage, I added some darker shades like maroon and purple to create some shadows.

Then, I continued to build my colours by layers. I added then with less pressure at first before adding more pressure for the burnishing layer. The burnishing layer is the final layer where we colour with higher pressure the get the maximum output of the colour. You can see the difference between the burnishing layer (on the left area) and the layer that is still in progress on the right area) in the picture above.
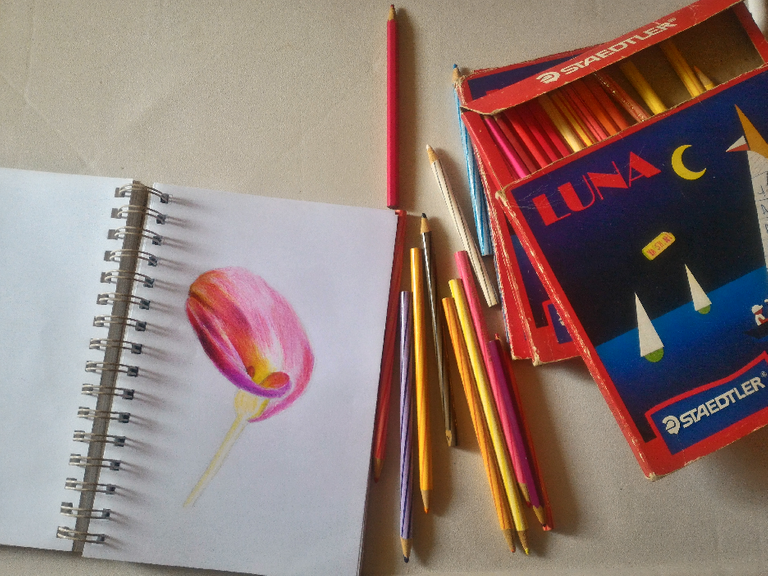
In case you are wondering how to the Staedler Luna colours look like, you can have a look here. I snapped this picture when I was taking a short break.
I finished painting the flower petals area.
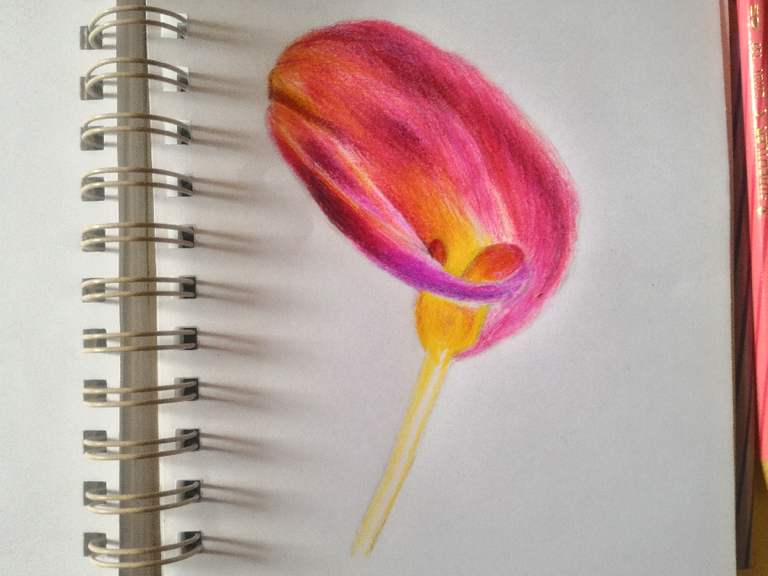
I moved on to paint the bottom area of the flower in yellow. I added some tints of pink for mild shadows.
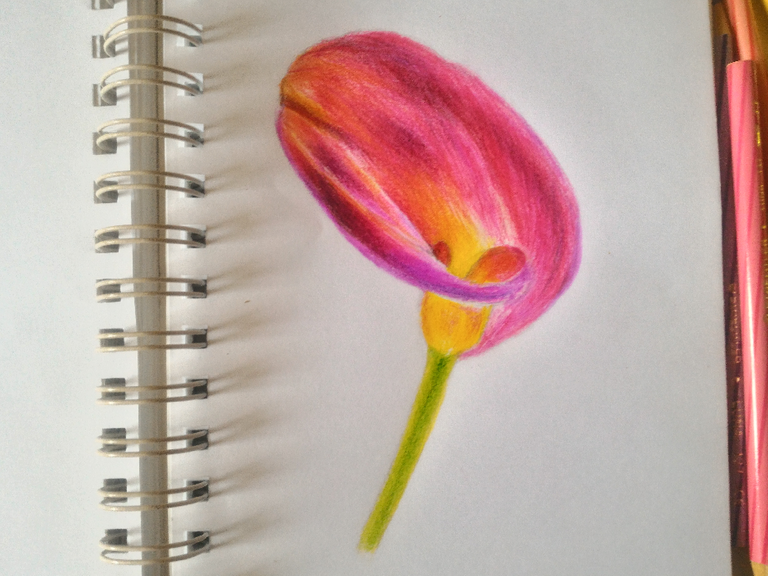
I painted the last part of the flower which is the stem in different shades of green and some yellow. I also added some touch ups on the highlight areas of the flower using a light purple since the background is white. This is the final outcome of my artwork and I hope that you find my tutorial helpful. Thank you for your time and I hope that you have a great day/evening ahead.
Cantik
Love the color
Terima kasih :) I'm glad you like the colours
Posted using Partiko Android
According to the Bible, How should a Christian deal with peer pressure?
Comment what you understand of our Youtube Video to receive our full votes. We have 30,000 #SteemPower. It's our little way to Thank you, our beloved friend.
Check our Discord Chat
Join our Official Community: https://beta.steemit.com/trending/hive-182074
@tipu curate
Upvoted 👌 (Mana: 5/10 - need recharge?)
Thank you @travelgirl and @tipu!
Posted using Partiko Android
Nice Artwork!!! 😀 ⭐️⭐️⭐️
[nTopaz Curator]
This comment from the curator is for information and encouragement. The upvotes from nTopaz and rankings are based on the popularity of your art work when posted to the nTopaz platform.
Join nTopaz Discord Channel
Thank you @melooo182!
Posted using Partiko Android
Simple but beautiful flower :)
[nTopaz Curator]
The comments from curators is for information and encouragement. The upvotes from nTopaz and rankings are based on the popularity of your art work when posted to the nTopaz platform.
Join nTopaz Discord Channel
Thank you so much 😊@anggreklestari
Posted using Partiko Android
I remember those pencils! Been quite a while since I've used a set of them. So start out with light colours and move to darker ones similar to painting? I'm not sure why that's never occurred to me, I used to just colour anyhow x_x Love the blending, came out looking so nice.
Thank you @ryivhnn! Then perhaps it is time to let your creativity and the colours mingle again!
Yes, I prefer to start with the light colours to protect the highlights and avoid over blending which may result in the darker shades overshadowing the highlights. However there is no one way, as long as we are happy with our outcome I think it is alright. I'd love to see your colour pencil painting someday =)
Posted using Partiko Android
I don't do much analogue art these days if I can help it, don't really have a lot of time :S so no idea when I would next give it a go.
Not the same but a couple of my favourite Krita brushes are pencil ones XD