Cosplay Photoshoot Plus Studio Lighting Results Demo
Greetings, friends!
I have just finished editing a massive series of photos I took of Cosplayers and other guests of the AniventureComicCon 2019 Fest in Sofia, Bulgaria. The event took place on the 14th and 15th of September in the halls of Inter Expo Center. Many thousands attended and I am lucky only hundreds came to me for their pictures. Guests of the festival paid a regular entry fee and that included free photos for all who wear some costume and stop by my corner.
Doing it for a third year now, I had an approximately accurate estimation of how many I will have to take photos of. There were times queues formed in front of my "shop" and times when I had to call those interesting characters passing nearby. Cosplayers and people who were trying the Yukata, casual Kimono wear in which people across my corner dressed them in.
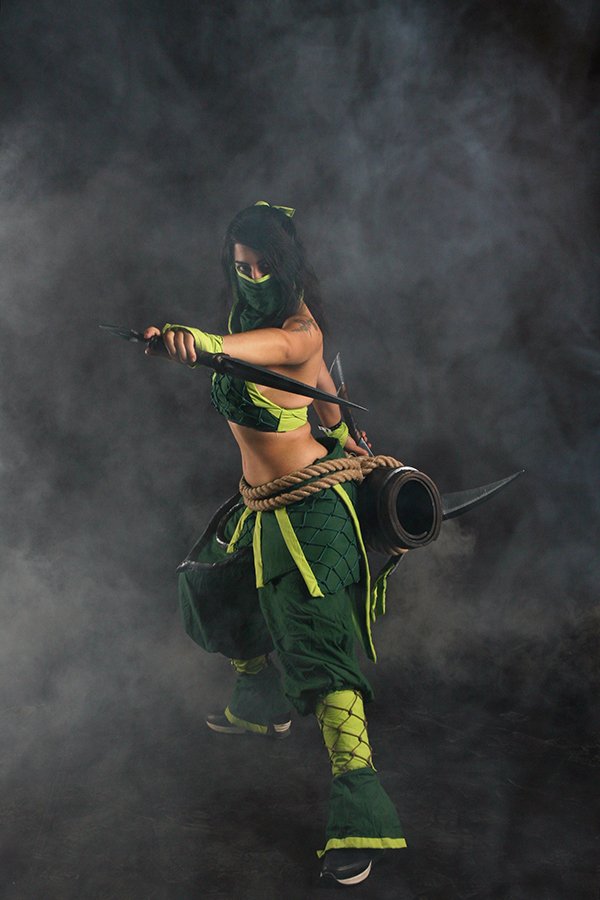
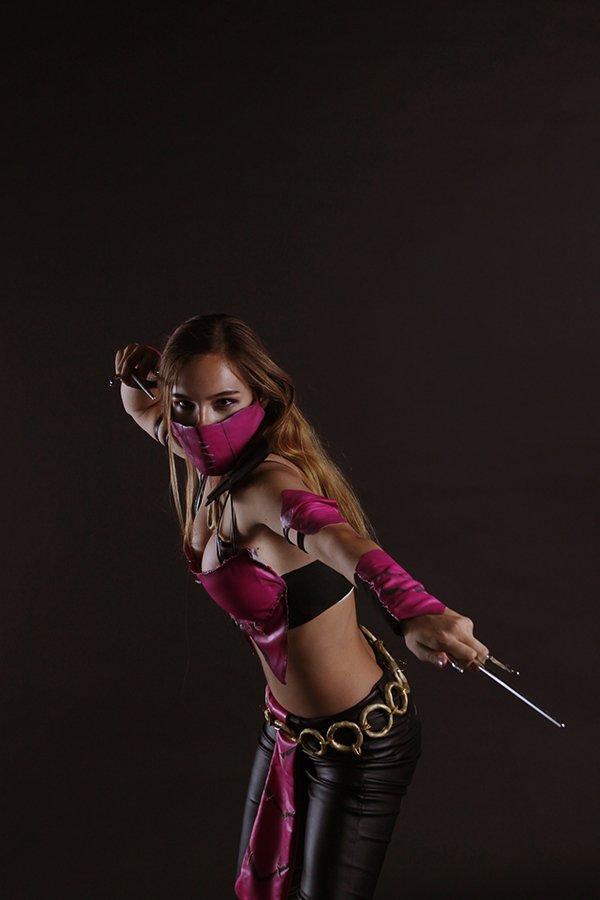
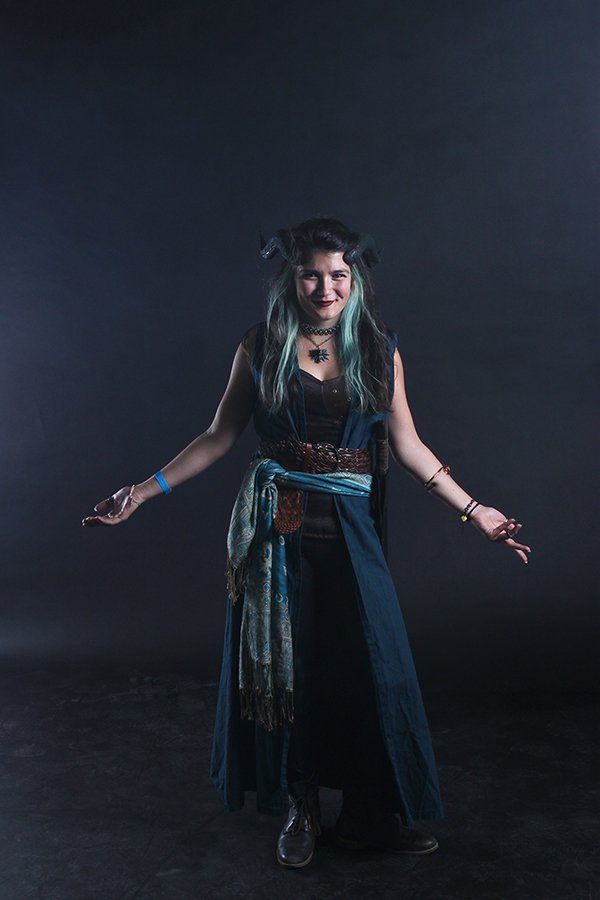
I'll be sharing only some of the cosplaying half of them here and now.
Before that, let me tell you about my lighting setup!
Starting not with the main flash but with the supporting role. And I will be leaving my favorite setup for last. At the final part of the article.
So...
Second flash
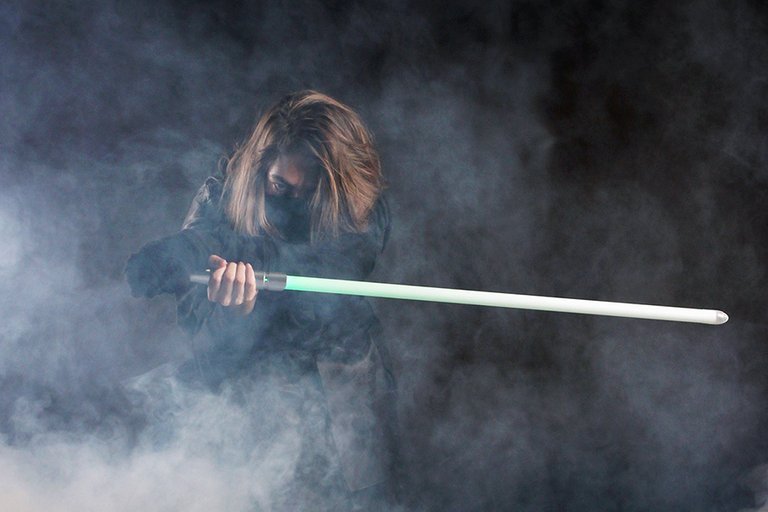
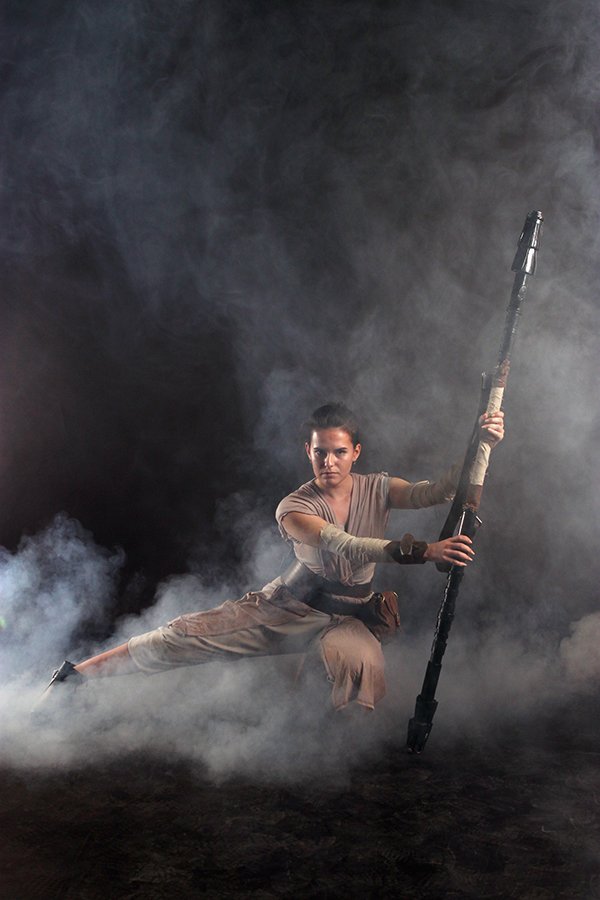
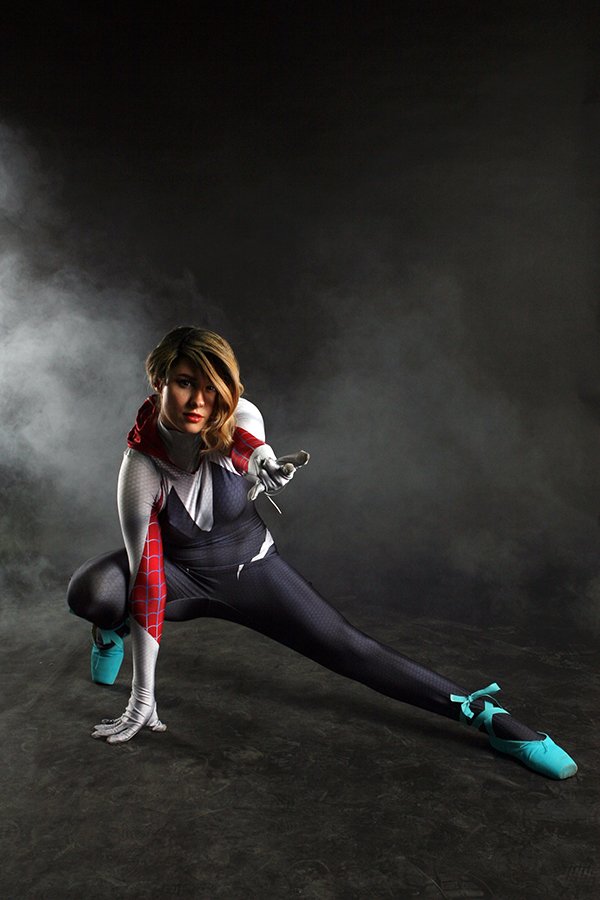
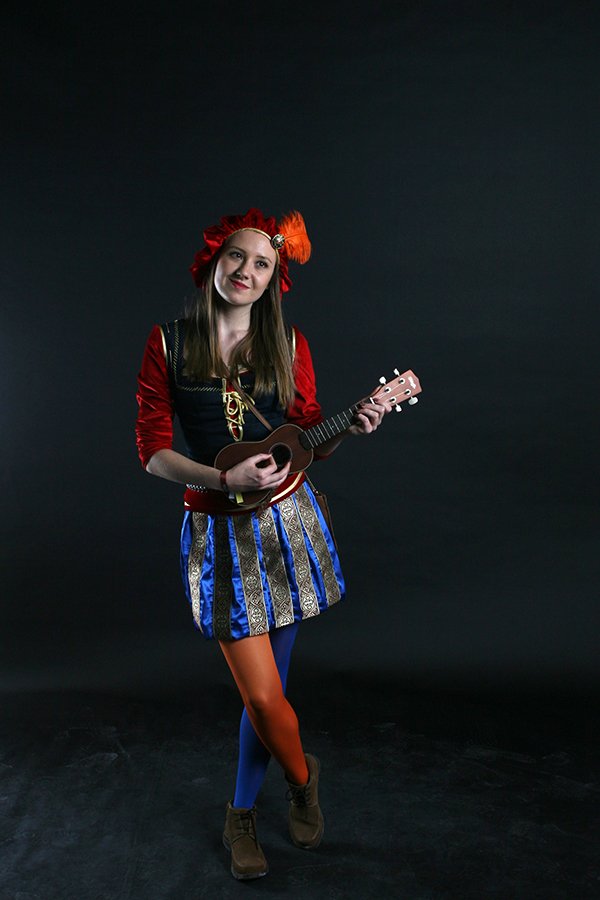
I was looking for an artistic effect with two flashes while I knew there will be people with dark clothes, blending with the dark background so I needed to have them outlined as much as possible. One flash would be at an angle from behind, no question about it. That would leave some darkness on the faces of people but it would also allow me to keep a dark background. I could have chosen differently. But I was looking for that dramatic lighting even if it came to some of the pictures only. I could have chosen a high angle but I chose low so that feet and everything below hips doesn't disappear.
Expecting something like this...
And even...
And it happened, all right, as you can see. By the way, it kind of depends on your monitors. I can see the Neo well separated from the background but can you? I don't know.
In any case, I was playing on the edge of visibility.
Here's what happens if only the support flash works...
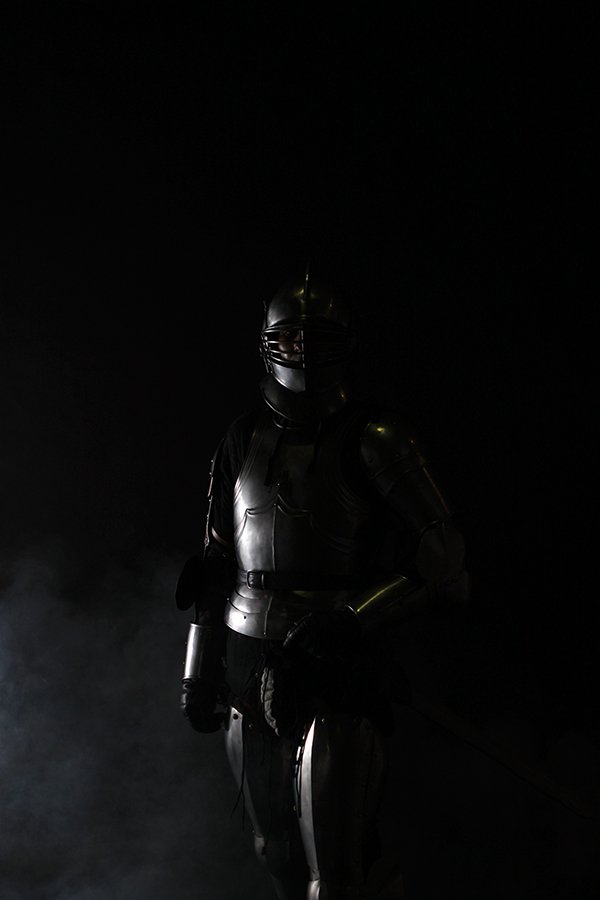
Now, the faint yellow glow on the helmet and the right side of the armor are results of the ambient lights in the hall, I believe. Pretty decent fluorescent lamps but they disappear when I set my camera for shooting with my pulse lights which are much more intense. So you see, you have to know ambient light won't do much difference compared to the pulse light. You don't have to worry about it. You also can't rely upon it.
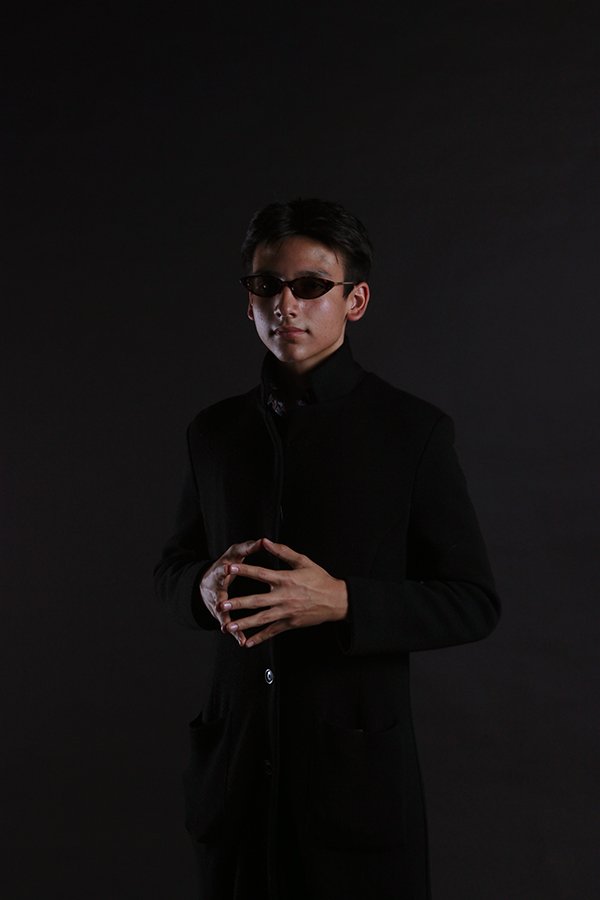
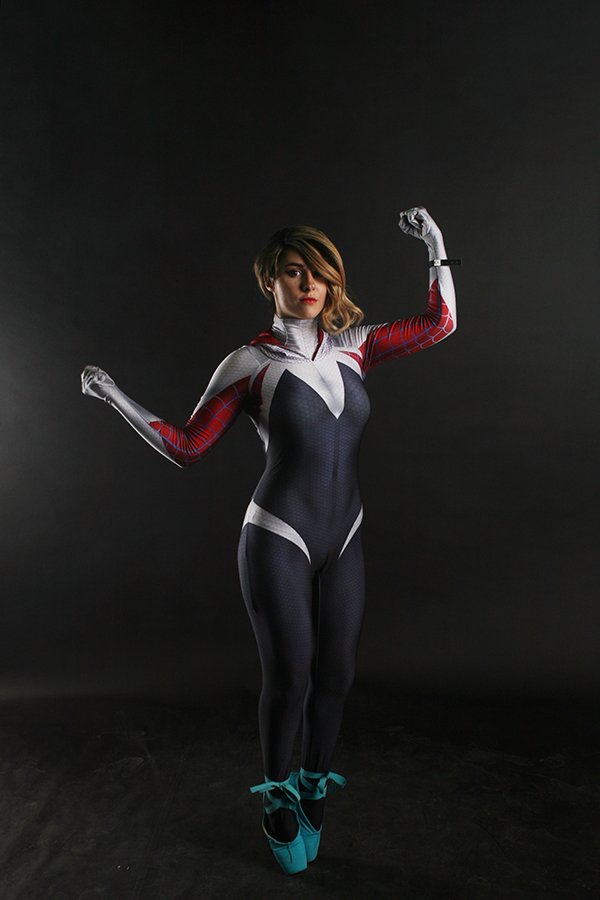
Main flash
As you can see, it's on the other side, not in front, but at a changing angle, just a bit, so I got two major kinds of results.
Split lighting but with a somewhat heavy outline on the other side.
Usually, Split lighting is coming from the side and leaving half the face, vertically speaking, in darkness. I did not fill the shadows with softer light, either but I kept that back outline more like in Low-Key lighting, which is another favorite of mine and I have talked about it before but I will talk about it again soon and I will let you know about it.
Now back to my current choice. Which is not the best choice. It is what I did and what will happen if you do something similar. The best would probably be to have at least one more light source PLUS the time to adjust it according to your subject. If you're shooting only one subject, that's the way to go. If you're shooting hundreds, there is also a safe way to go - fill in all the shadows or almost all of them. But I was looking for speed, quantity and some interesting shadows at the same time.
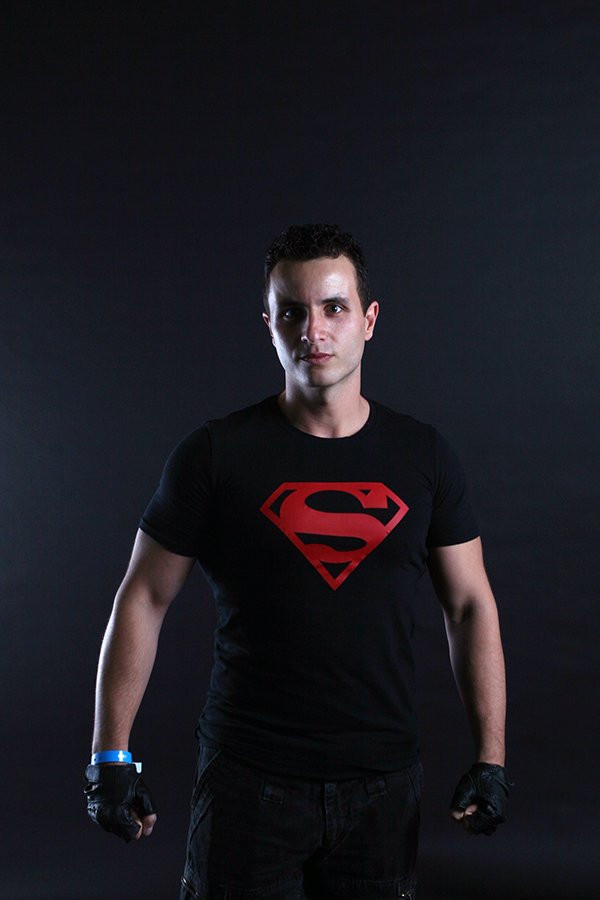


As you can see, the Low_Key-like backlighting is especially nice when working with well-shaped muscles.
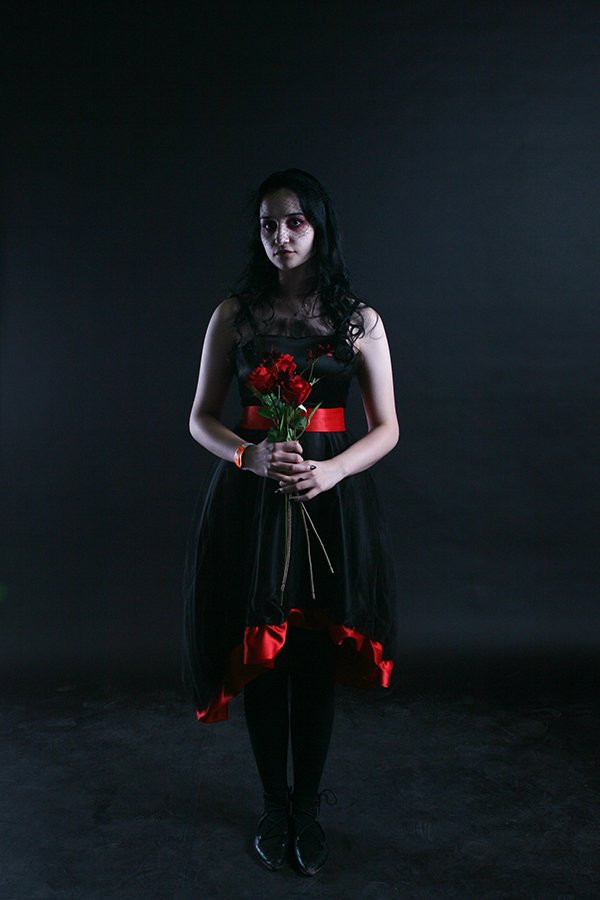
And now for my favorite — the Rembrandt Lighting.
Named after the famous classical painter and his style, it is actually a term much more used in photography nowadays.
It refers to dramatic light coming at an angle from above and leaving deep shadows in a specific way. More precisely, about 45 degreed from above and 45 degrees from one side. I remember both my wife (then fiancee) and a lady who was just standing by, erupting in laughter when I tried asking Silviya, A.K.A. @silver.art to turn her face at such an angle towards the beautiful setting red winter sun.
The purpose is to light the left or right half of the face but also, unlike in split lighting, a triangle of light should appear below the model's other eye. It's the nose, lips, cheekbones, and brows together casting a controlled, beautiful shadow instead of separate awkward-looking ones.
A lot of things have to align properly for it to work. So did I manage to achieve that during the festival? Occasionally. When we had the time and will to do so. Or when the test subjects (all right, all right, models) were sitting just right.
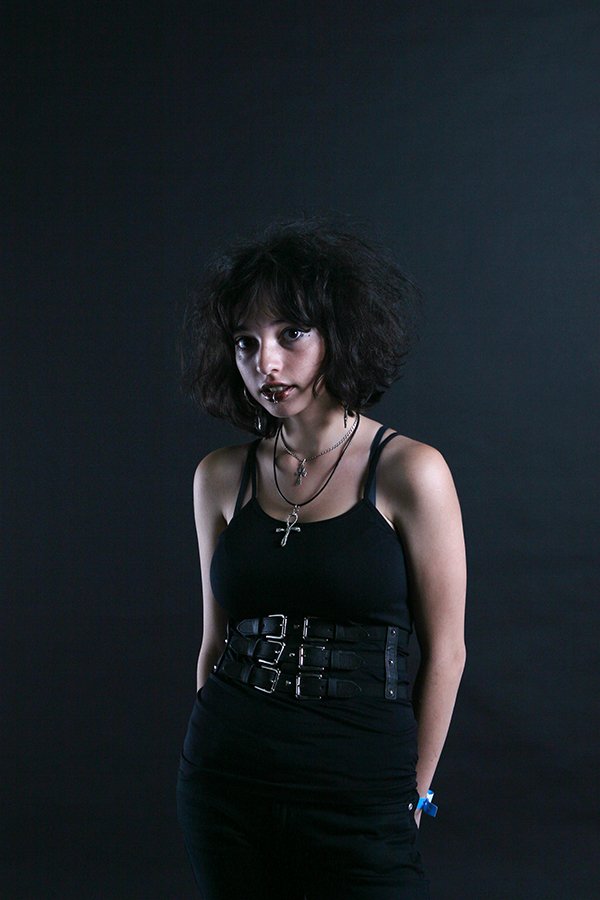
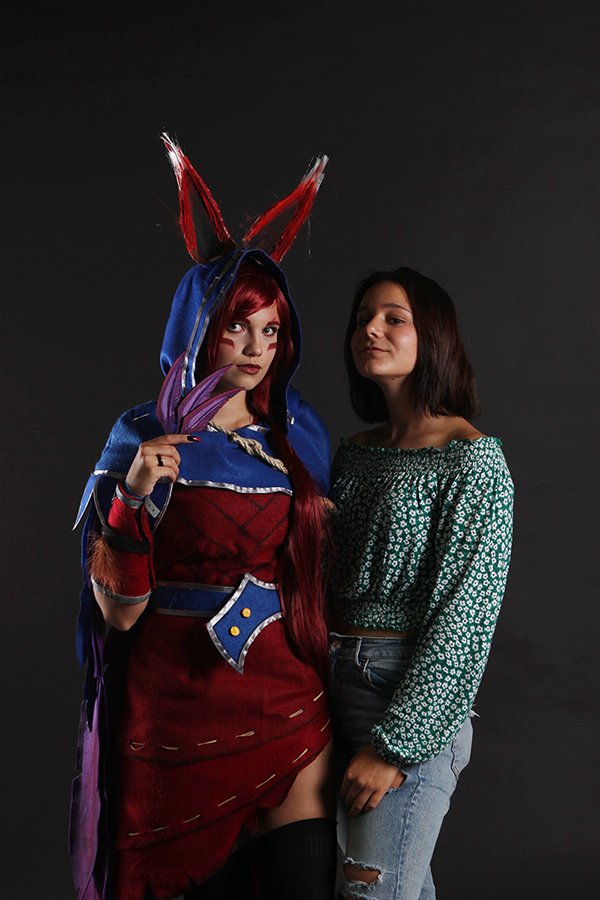
Well, sometimes some hair gets a bit in the way.
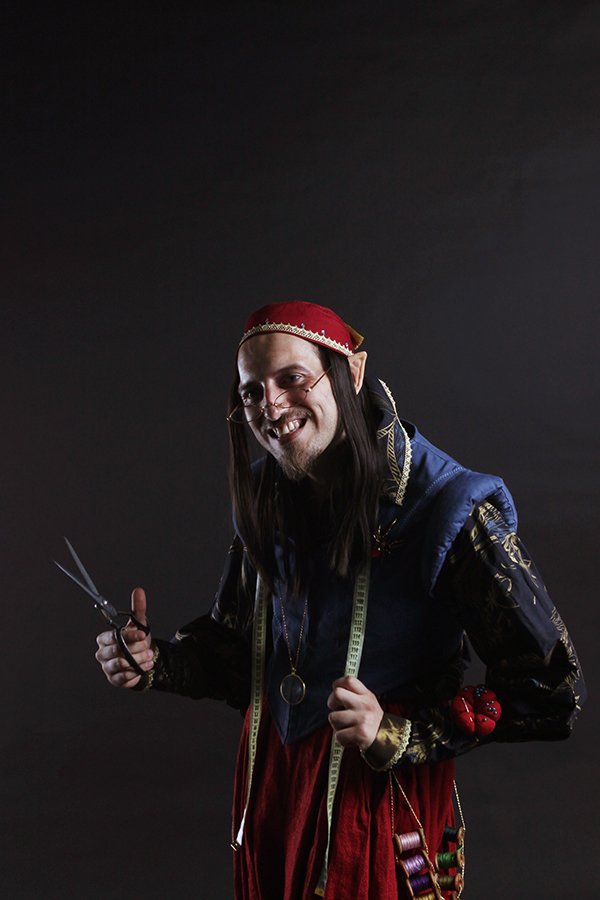
And sometimes people just turn their heads a lot and we have various effects...
Here you can see both the split lighting on one of the faces, coming from the side (the model on the right of the picture), and the butterfly (front) lighting, leaving no shadows (the model on our left). Both coming from the same source but their faces were differently turned — towards it or away from it.
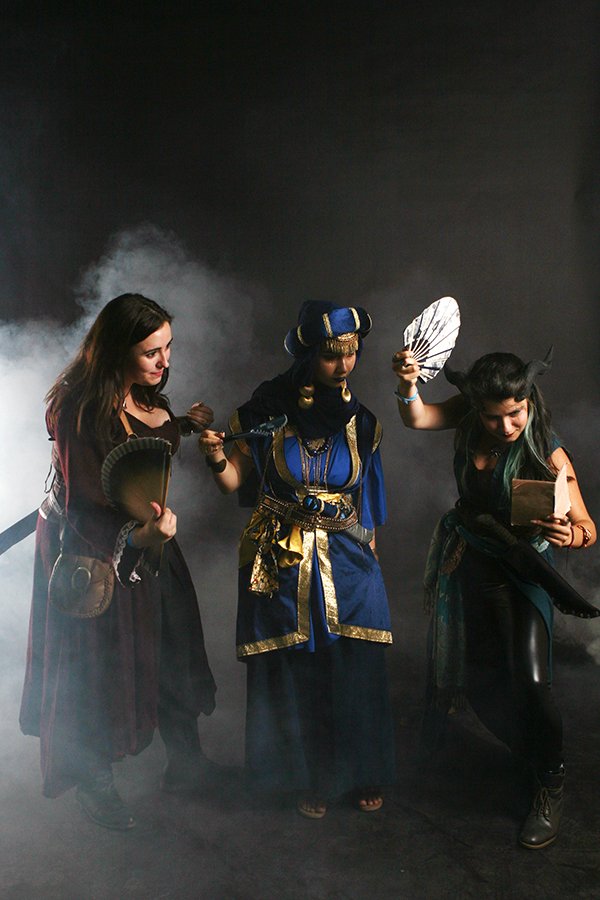
What do you see here?
And sometimes it something in between...but this one had very nice colors so here it is.
Thank you for viewing all this and bear in mind that I did not use exactly split or Rembrandt lighting but opted on adding some backlighting as well. On the other hand, you can always use more. My general problem in this job is...these special lighting setups work best for one person. Two or more need extra lights or just can't have those same results as good as one person can.
All you need to remember for Rembrandt Lighting is:
The light source should be 45 degrees above and 45 degrees to the left or right of your model's face, which should be straight.
And here is an awesome schematic I just made of the lighting setup I used, as it looks at 90 degrees from the right side:
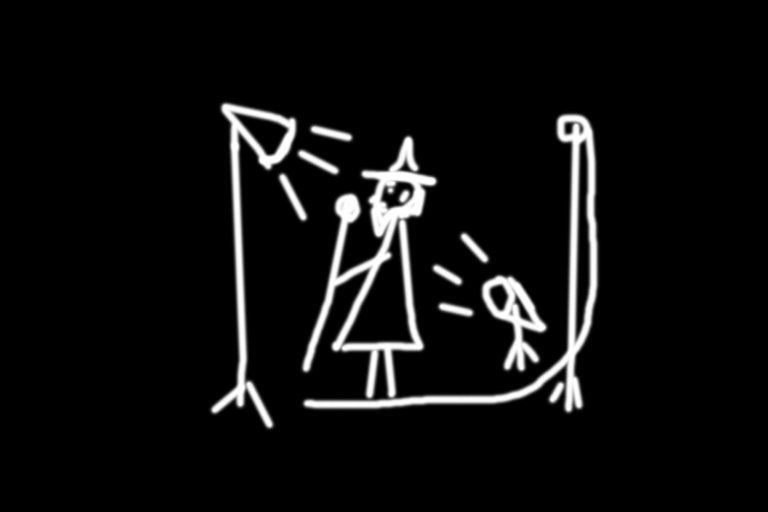
I placed my wizards approximately in the middle of a diagonal, running from Close Top Right to Far Bottom Left.
I hope that was useful.
Yours,
Manol
!trdo
!BEER
Wonderful 🍻📷👌👏
Posted using Partiko Android
Congratulations @lightcaptured, you are successfuly trended the post that shared by @manoldonchev!
@manoldonchev got 6 TRDO & @lightcaptured got 4 TRDO!
"Call TRDO, Your Comment Worth Something!"
To view or trade TRDO go to steem-engine.com
Join TRDO Discord Channel or Join TRDO Web Site
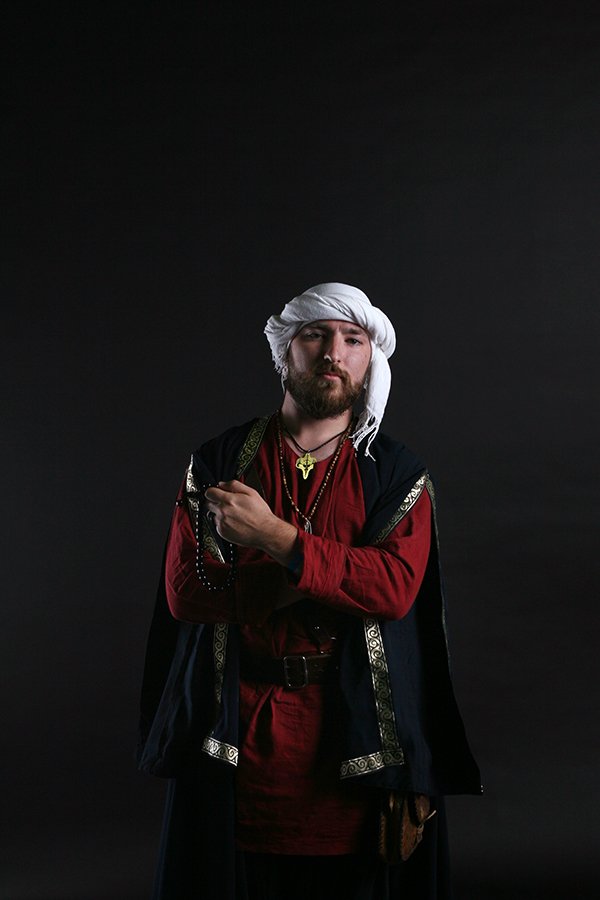
Neo stands out, yes. As well as the black knight - not so much distinctive but he stands out. :)
Amazing stuff! Thanks for sharing.
Oh, thanks, that's very good to know :)
Thank you manoldonchev! You've just received an upvote of 25% by artturtle!
Learn how I will upvote each and every one of your posts
Please come visit me to see my daily report detailing my current upvote power and how much I'm currently upvoting.
Great set, interesting heroes..
Manually curated by PhotoStreem: The Photography Tribe
Join Photostreem DISCORD
Follow the Trail
Congratulations @axeman, you are successfuly trended the post that shared by @manoldonchev!
@manoldonchev got 6 TRDO & @axeman got 4 TRDO!
"Call TRDO, Your Comment Worth Something!"
To view or trade TRDO go to steem-engine.com
Join TRDO Discord Channel or Join TRDO Web Site
This post was shared in the Curation Collective Discord community for curators, and upvoted and resteemed by the @c-squared community account after manual review.
@c-squared runs a community witness. Please consider using one of your witness votes on us here
Hello!
This post has been manually curated, resteemed
and gifted with some virtually delicious cake
from the @helpiecake curation team!
Much love to you from all of us at @helpie!
Keep up the great work!
Manually curated by @veryspider.
@helpie is a Community Witness.
For more information about our project,
please visit this month’s UPDATE post.
This post has been rewarded with an upvote from city trail as part of Neoxian City Curation program
 . We are glad to see you using #neoxian tag in your posts. If you still not in our discord, you can join our Discord Server for more goodies and giveaways.
Do you know that you can earn NEOXAG tokens as passive income by delegating to @neoxiancityvb. Here are some handy links for delegations: 100SP, 250SP, 500SP, 1000SP. Read more about the bot in this post. Note: The liquid neoxag reward of this comment will be burned and stake will be use for curation.
First the face of the girl in red (ish) and the details in her face, her nose, her smile, the shape of her cheeks, her eyelashes, she is engaging lit and shot. Then the light on her chests drew me to what she is holding, you use light to create a wonderful path for the eyes to follow, starting with a moment lingering on the first girls face. The bright white fan really stands out, but the light draws me onto the middle girl, her face and headdress really draw the eye, i then took in the right (her right) of the last girl's face, and straight into what she (and they all) are looking at. I didn't notice her horns right away, or that the middle girl was also holding something, the composition throws the 'real' elements of the cosplay into focus, their faces stand out so well. Hopefully that is a vaguely useful answer to your question ;)
That's more than I ever expected...from anybody else but from you or your kin ;)
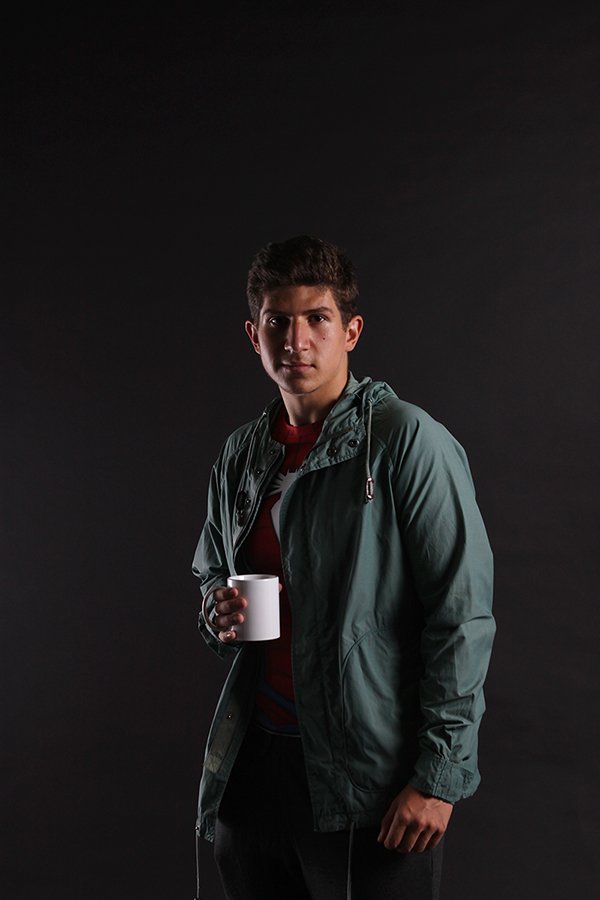
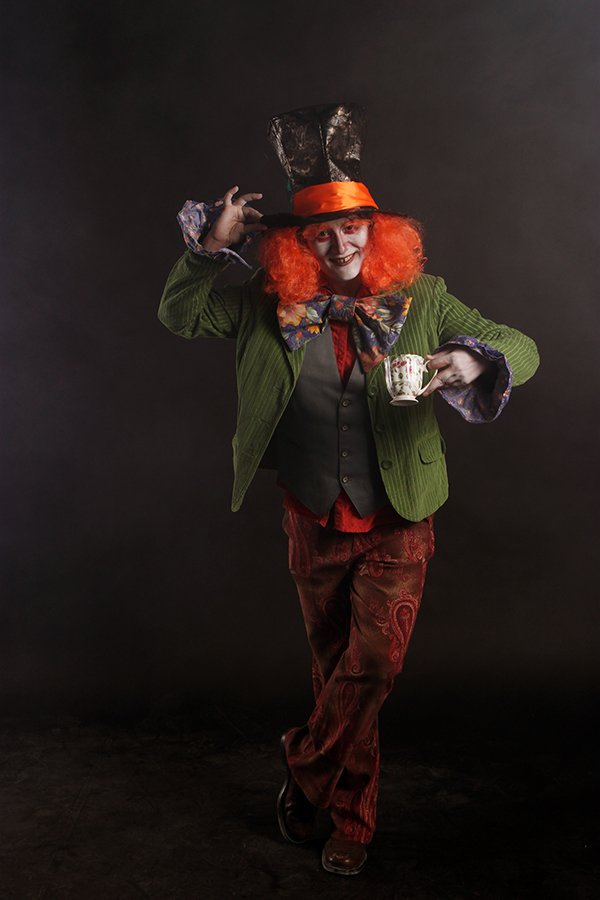
Great photoshooting and amazing collection of characters.My favourite character is the guy with the coffee mug, an everyday hero,lol.
Congratulations @manoldonchev! You have completed the following achievement on the Steem blockchain and have been rewarded with new badge(s) :
You can view your badges on your Steem Board and compare to others on the Steem Ranking
If you no longer want to receive notifications, reply to this comment with the word
STOPDo not miss the last post from @steemitboard:
This post has been manually curated by PhotoStream: The Photography Tribe!
As always giving us good images, and even better with some good advice!
Thanks. You never know when you night use it with natural light, even.
Posted using Partiko Android
Those are some incredible photos (great costumes too). Thanks for sharing! I hope you had a good time doing it.
I personally really appreciate the explanation of the lighting. I mess around with a camera from time to time and invariably mess up with the lighting. Will need to try the backlight sometime.
I'd recommend trying the Rembrandt with natural light. Good exercise. This ba k ligh I use was kind of semi-this and semi-that, not anything specific.
Posted using Partiko Android
Sup Dork?!? Enjoy the Upvote!!! Keep up with the dorky content for more love!!!
Well, thanks. Working on it.
Posted using Partiko Android
These are truly astounding, @manoldonchev. And your post is wonderfully educational!
Thank you, tried my best to share the experience in a useful way.
Posted using Partiko Android
Need I say anything here?
Okay, I am flabbergasted as these are terrific photos my friend.
Blessings!
Terrifically lots of them I had for sure. Thank you.
Posted using Partiko Android
My pleasure to visit and to see some of them my friend.
Blessings!
Excellent work, i like the way you work with lights, well done
Thank you!
Posted using Partiko Android
That is so cool! Loved looking at all those wonderful comiccon folks! And get a photography lesson to boot!
Thanks so much for sharing this I really enjoyed it!
Thanks, I'm happy about it.
Posted using Partiko Android
These are awesome! Halloween came early 😁
And in force. This is a small selection of it. In that regard the job is fun, indeed.
Posted using Partiko Android