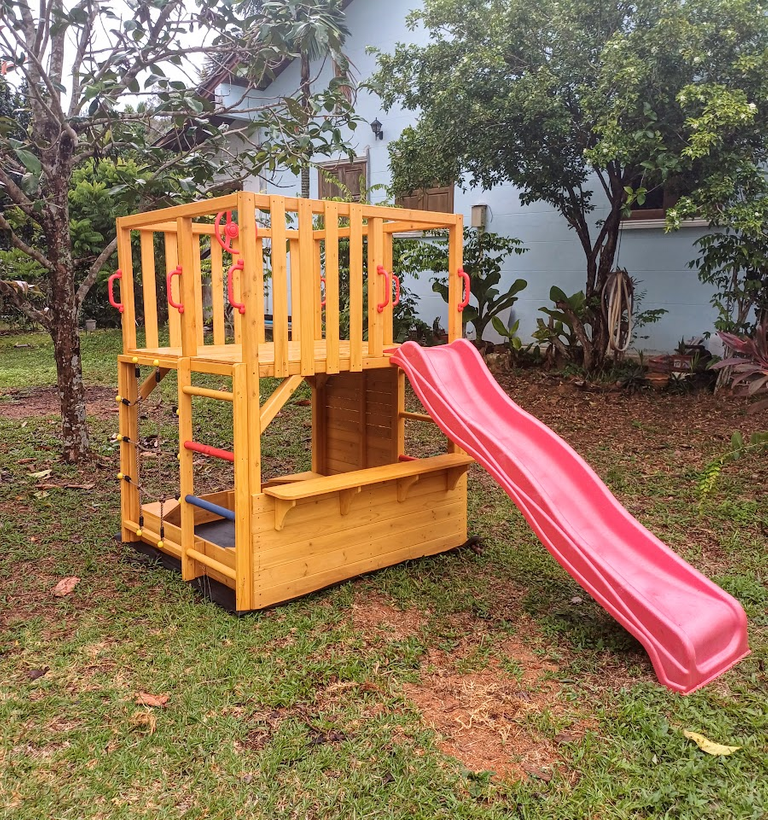
Building a Climbing Frame from a Kit
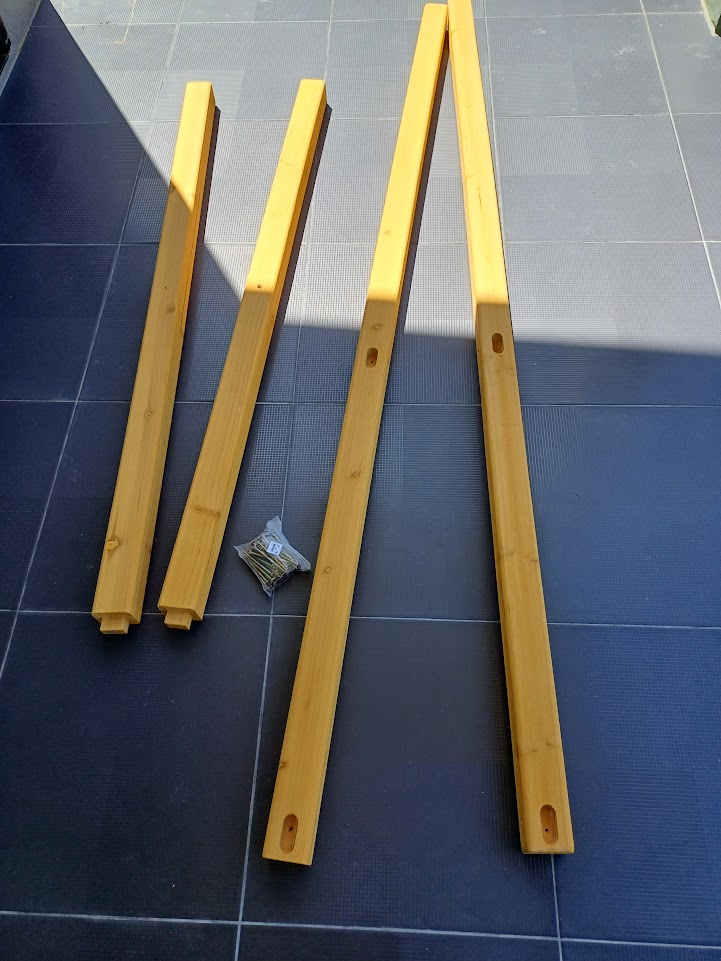
I'd got a pile of wood and hundreds of screws checked and counted off present and correct. I'd got the new drill. I'd got a house that smelt like an explosion in a pesticide factory and I'd got a wife that was nagging me to an early grave. It was time to build the damned climbing frame!
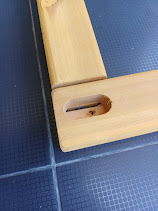
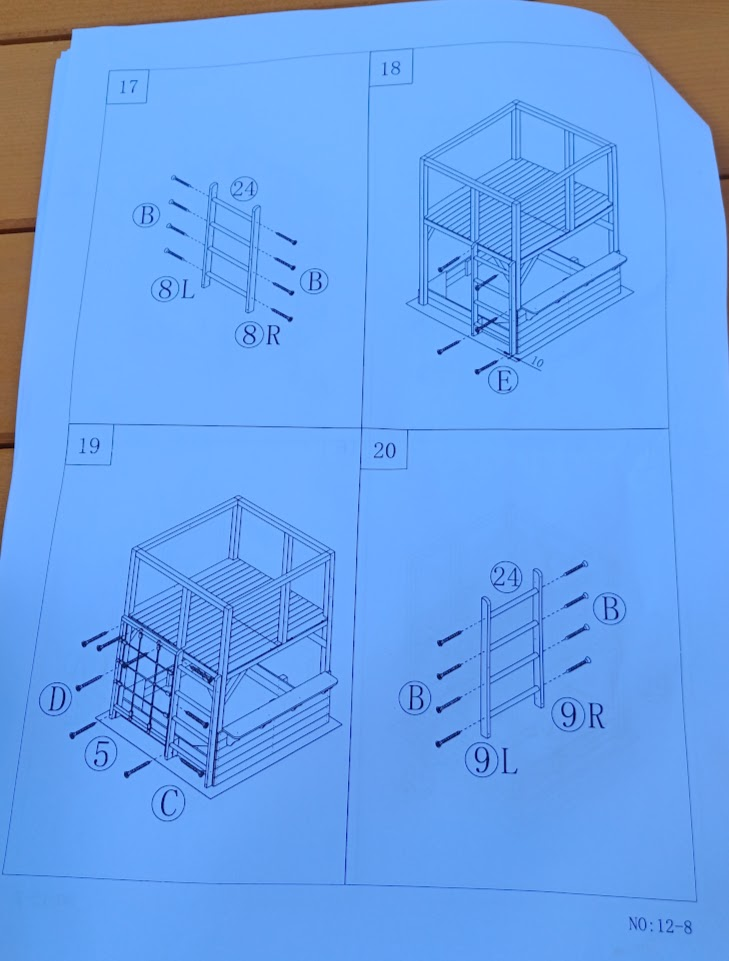
Now the first thing to point out that this wasn't one of those dreadful pieces of cheap 'furniture' the wife had ordered from China. The climbing frame was made by a Thai company, Gadeaux Kids and the packing and quality were excellent, as was the instruction book. Clear diagrams that were easy to follow and had the part numbers, orientations and screw sizes clearly marked.
The wood was obviously pine but as mentioned, had been treated, screw holes were pre-drilled and countersunk and the mortise and tenon joints were clean and precise. Even the factory ends were square and clean and the every piece of wood smooth as a baby's arse. No one was going to end up with splinters!
So, the only tools required were three screwdrivers (bits), phillips 2 and 3 and a wide flat blade, and a tape measure. I gave a lot of thought to whether I should glue the joints and decided against it because I worry that at some time I might need to replace a rotten piece of wood or the wife might need it taking apart and moving and in any case, there were a lot of screws, cross members and corners holding it all together.
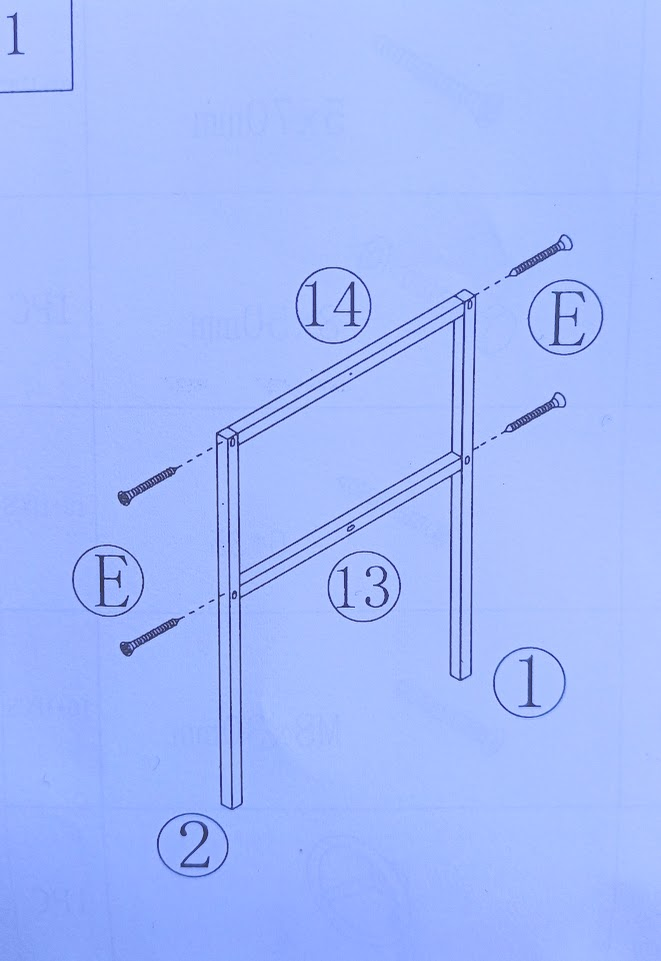
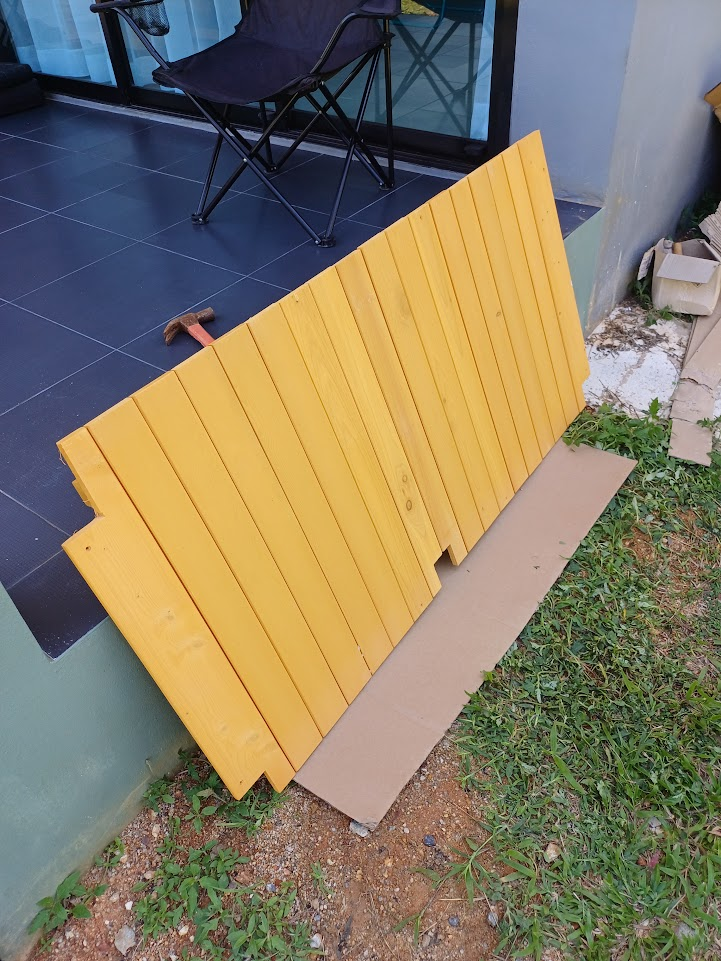
The basic four sides went together very easily and in the absence of a set square or any clamps, decided to build the frames on the patio using the tiles to get everything squared up as much as possible. This wasn't that important as there was always going to be a little play but it would definitely help make life easier as I added flooring and corner reinforcements.
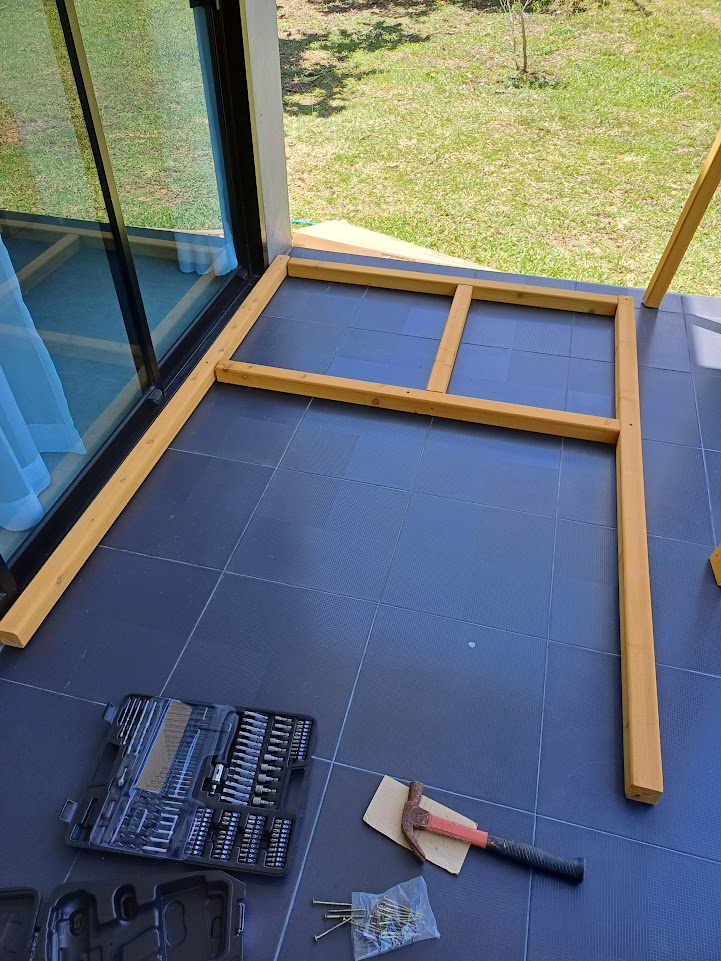
Keeping the frames pushed against the step below the patio doors also helped to keep everything straight as making this alone made things a little more difficult.
So with the main frames built, it was time to put them together. Easier said than done alone as they were awkward rather than heavy but by leaning one frame against the wall and creating two 'L' shapes which were self supporting, I managed to get the thing together, loosely screwed and self supporting until I was happy it was fairly square then tightened everything up.

If I were making this myself rather than from a kit, I would have used stouter timbers.
So next came two, ready made floor panels which fit really well as I'd managed to get the whole thing quite square.
According to the instructions, I should just leave them loose to keep the shape but not screw them in until later when other cross members and supports had been put in place.

![]
 )
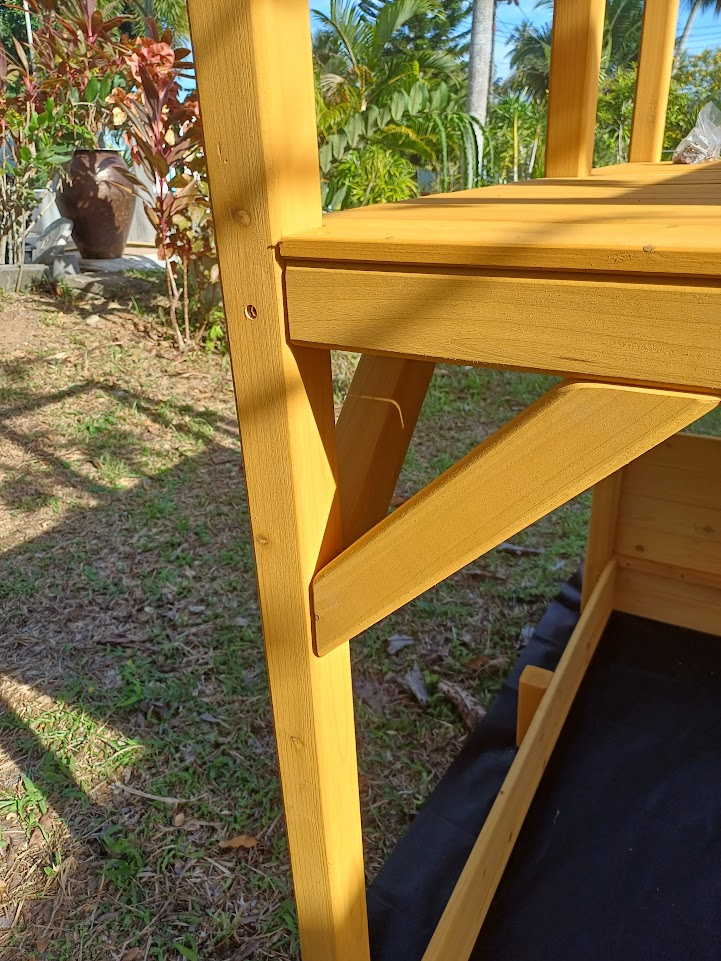
)Next job was to screw in some corner supports. Thankfully the holes were pre-drilled as drilling at an angle without a jig can be pretty tricky but again, this excellent kit had me covered and also at this point, the accuracy of the squareness again came into play as the pieces sat perfectly and just added some 'beefiness' to the structure.

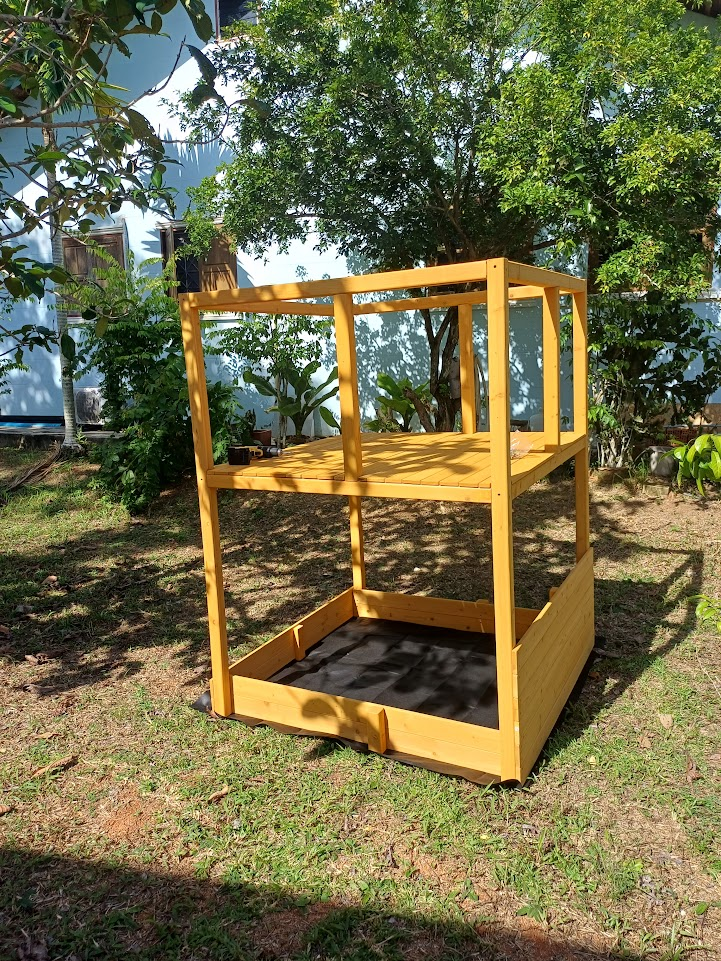
The rest of the side parts, except the ladders which I had to put together, were pre-made panels and they slotted into place perfectly, as per the plans. A little bit of fencing and then the final two jobs were screwing in the steering wheel and the plastic rocks onto the climbing wall. I'm an old hand at that!
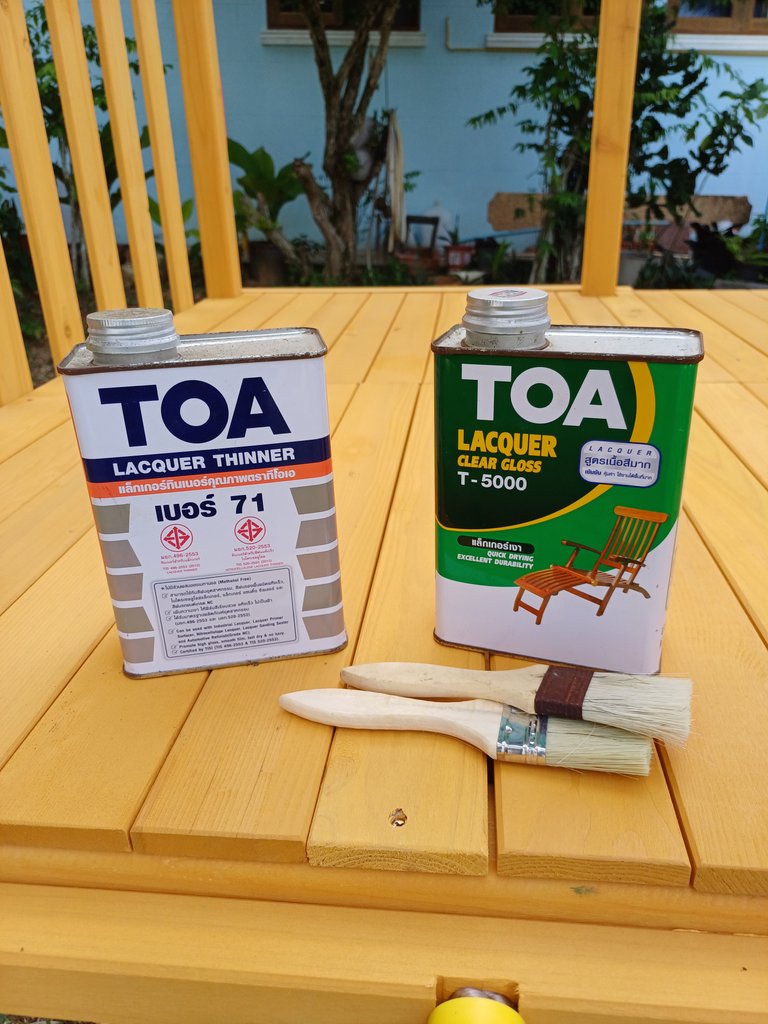
And that was it. . The timber had already been treated with a pesticide to try and keep the termites away but anything wooden is going to struggle with the heat and tropical monsoon so I thought it worthwhile to give it a light sanding and a couple of coats of thinned down lacquer, making sure I used decent paintbrushes as cheap ones lose their bristles very easily when painting on lacquer!
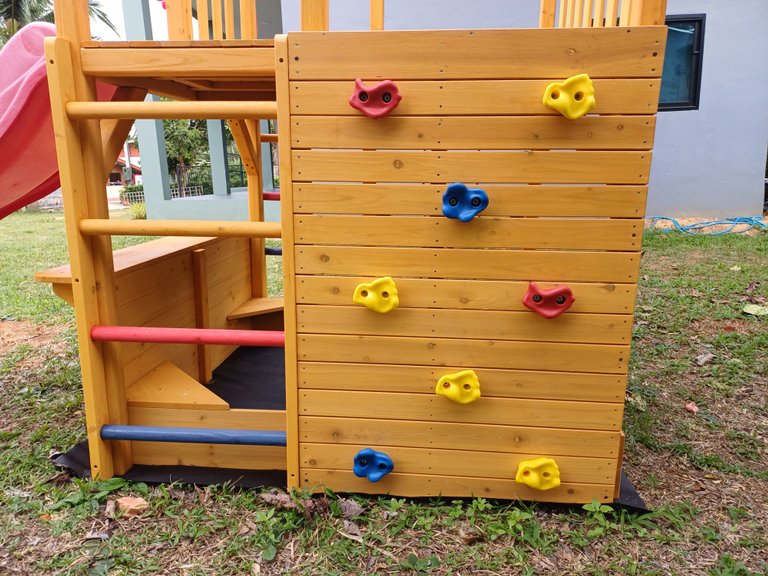
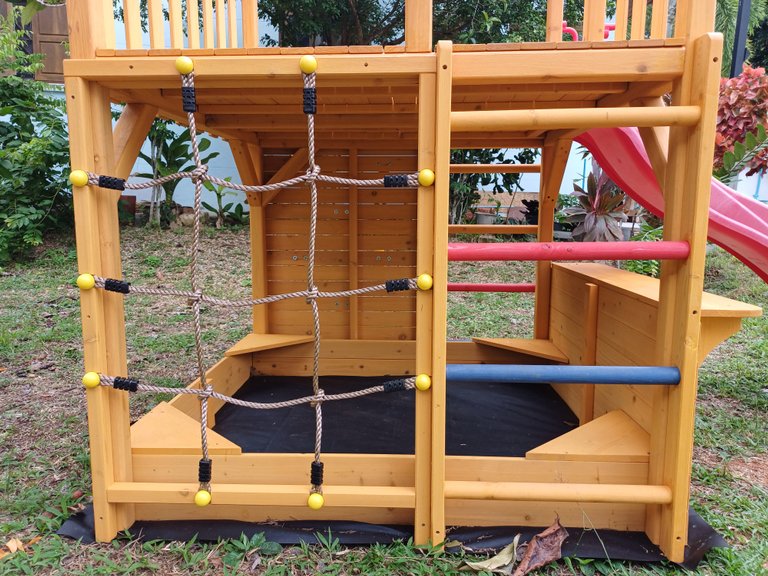
The proof of the pudding though is in the eating, and in this case, the kids absolutely love it! At close to £400, I'm not sure it's exactly a bargain but it certainly went together easily with clear instructions and nothing missing. Anyone could have built it although it would be better with two people. I did have two helpers, but they were there simply to shout instructions and rush me along...
Well done! @nathen007 🛠👷♂️🔨🧰🔧
Your "helpers" are what we call cheerleaders!
Now it's time to put it to the test by letting children loose on the playset.🤸♀️🤸♂️
@tipu curate
Upvoted 👌 (Mana: 35/75) Liquid rewards.
@ninahaskin thank you so much for the kind words and the upvote.
All the kids who come to our clinic love it and climbing helps them build confidence and coordination.
Have a wonderful week and best wishes :-)
Hahah You did it very well,
😂🤣😂🤣
Posted using Neoxian City
Thank you! The 'helpers' didn't realise I had my earphones in so I couldn't hear their 'advice' lol ;-)
This post has been manually curated by @bhattg from Indiaunited community. Join us on our Discord Server.
Do you know that you can earn a passive income by delegating to @indiaunited. We share more than 100 % of the curation rewards with the delegators in the form of IUC tokens. HP delegators and IUC token holders also get upto 20% additional vote weight.
Here are some handy links for delegations: 100HP, 250HP, 500HP, 1000HP.
100% of the rewards from this comment goes to the curator for their manual curation efforts. Please encourage the curator @bhattg by upvoting this comment and support the community by voting the posts made by @indiaunited.
@indiaunited thank you so much. Appreciate the upvote and best wishes to your team and all you do on Hive :-)
This post has been rewarded with an upvote from city trail as part of Neoxian City Curation program
 . We are glad to see you using #neoxian tag in your posts. If you still not in our discord, you can join our Discord Server for more goodies and giveaways.
Do you know that you can earn NEOXAG tokens as passive income by delegating to @neoxiancityvb. Here are some handy links for delegations: 100HP, 250HP, 500HP, 1000HP. Read more about the bot in this post. Note: The liquid neoxag reward of this comment will be burned and stake will be used for curation.
Thank you @neoxiancity and how nice to see you guys still thriving and going strong after all these years :-)
It wasn't made in China was it? = }
A long time ago I was dating a chick with a little girl. A little sweetheart actually. We keep in touch, in case you're wondering.
I musta spent 10 hours AND called the Calvary over for that slide, jungle gym, swing having, horse nightmare thing!
So.. where's it made?
Haha, the Chinese stuff is terrible. The wife bought a load of furniture from there and it was a case of throwing the pieces on a big pile and pulling out random pieces one at a time to guess what went where!
Im pleasantly surprised this Thai made kit was so simple.
You three take care of each other. Keep the faith, mate. Things will improve :-)
Haha, your helpers are funny. This is so creative and explanatory. Thanks for sharing.
Thanks for your kind words and for dropping by.
I hope you're healthy and happy and having a wonderful week :-)
Hehe, I am. Thank you. And have a fruitful day ❤️.
Hahaha having helpers who only screen instructions can be quite tiring. I was looking at the leaflet that came with it and I must applaud you for being able to perfectly couple it. The final result looks great. I must say that the pre-drills did make it a bit easier to couple.
I put my earbuds in ;-)
I have to be honest, it was a very easy build as everything had been prefilled and fit together easily which meant it turned out really well.
Good luck in the women's world cup, after such a terrible year, I really hope you get the win. Good luck mate and thank-you :-)
Hahaha, amazing, I haven't seen a build that came in semi prepared, I majorly thought only a couple of the filing was done and you needed to finish the rest.
Indeed I can't wait for the year to be over, it's been an exhausting and hetic one for me. As for the WWC I'm currently in 2nd, haha the predictions are tougher now, I hope I don't slip down too much.
All in a day's work. How long did it take you to put it together??
!discovery 29
About 4 hours. It was very well made and accurate, just the number of pieces and screws made it takenso long...and the continual interruptions ;-)
This post was shared and voted inside the discord by the curators team of discovery-it
Join our Community and follow our Curation Trail
Discovery-it is also a Witness, vote for us here
Delegate to us for passive income. Check our 80% fee-back Program
Good job, very well done, greetings
Thanks for dropping by and nice to meet you! Best wishes from Thailand :-)
Excellent work.
Don’t you just love those kind of manuals hahaha 🤣
You did a great job 😎 well done!
Have a wonderful mid week 👋🏻
You too, thank you. I won't rest on my laurels though. When one job gets done, another one magically appears lol
Thanks and you are welcome.
The same here hahaha… no time to rest !LOL
Have a great weekend 👋🏻😊
lolztoken.com
This tastes a little funny.
Credit: reddit
@nathen007, I sent you an $LOLZ on behalf of littlebee4
(1/8)
ENTER @WIN.HIVE'S DAILY DRAW AND WIN HIVE!
this is so awesome, the drawings are well detailed and you did a wonderful job ma
Thank you my friend. I have to be honest and say that the kitvwas so well made, anyone with a screwdriver could have done a great job.
Best wishes :-)
Click on the badge to view your board.
Thank you to our sponsors. Please consider supporting them.
Check out our last posts:
You certainly did a great job. I myself and I know many others definitely appreciate your efforts. ❤👌
Why did you unvote my post?