Diy pelota sensorial - Diy sensory ball
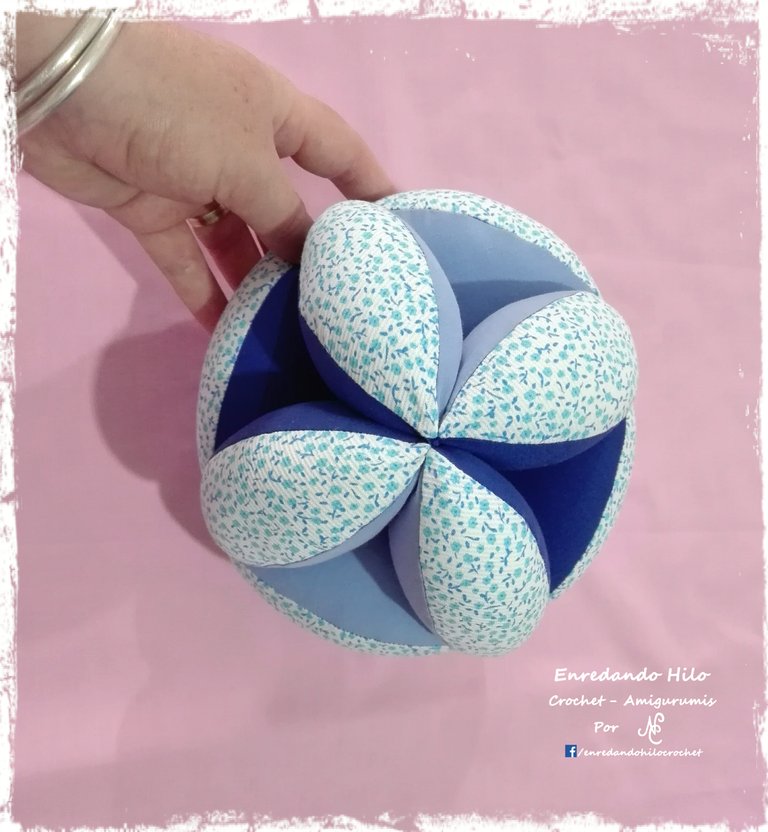
Hola comunidad!!! Para el #needleworkmonday de esta semana les muestro el paso a paso de la confección de esta pelota sensorial, para algunos conocida como pelota Montessori, aunque leí por ahí que en verdad no figura en ningún libro de este método. De todas maneras su forma es muy atractiva y su funcionalidad radica en la posibilidad de agarre que tiene para un bebé de pocos meses y que, posteriormente, cuando empiece a desplazarse, se puede rodar pero no llega muy lejos permitiendo que pueda alcanzarla fácilmente.
Hello community! For the #needleworkmonday of this week I show you the step by step of making this sensory ball, for some known as Montessori ball, although I read out there that it really does not appear in any book of this method. In any case, its shape is very attractive and its functionality lies in the possibility of holding it for a baby of a few months and, later, when it starts to move, it can be rolled but does not go very far allowing it to be easily reached.
Para hacerla miré varios videos en YouTube, así que paso a paso sobra en las redes, más bien serían algunas recomendaciones para no morir en el intento si son principiantes y ansiosas como yo jajaja.
To do it I watched several videos on YouTube, so step by step on the networks left over, rather they would be some recommendations not to die trying if they are beginners and anxious as I hahaha.
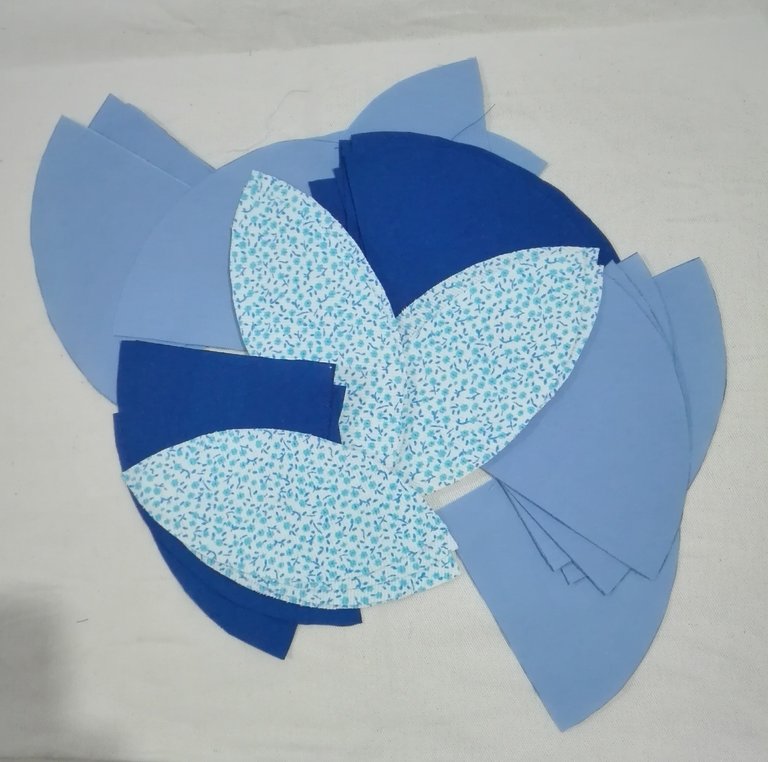
Los moldes son muy simples, se trata de un cuarto de círculo más una especie de hoja formada por la comba doble de ese círculo. Como no encontré compás usé un tupper medio grande para que el molde ya incluyera el margen de costura.
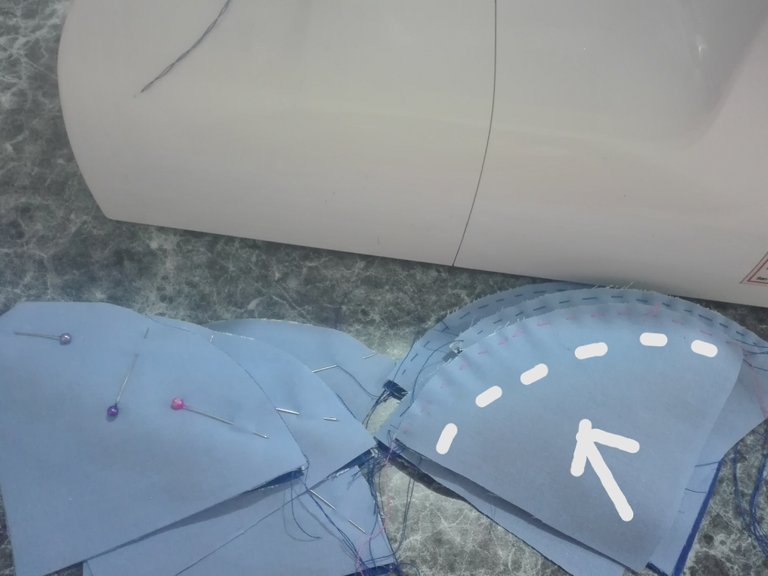
El primer paso es unir un triángulo con una hoja por la parte curva enfrentando derechos, primera recomendación: hacer un pespunte previo. En total hay que formar 12 gajos, son muchos pespuntes, pero si no estás canchera con las curvas como yo y querés que te quede prolijo, por más trabajo extra que parezca, éste es el camino más corto. Tratar de dejar libre los márgenes de costura laterales al inicio y al final.
Después hay que hacer lo mismo con el otro lado de la hoja, de nuevo más pespuntes.
The first step is to join a triangle with a leaf on the curved side facing rights, first recommendation: make a previous stitching. In total you have to form 12 segments, there are many stitches, but if you are not skilled with curves like me and want to be neat, no matter how much extra work it seems, this is the shortest path. Try to free the side seam allowances at the beginning and end. Then you have to do the same with the other side of the sheet, again more stitching.
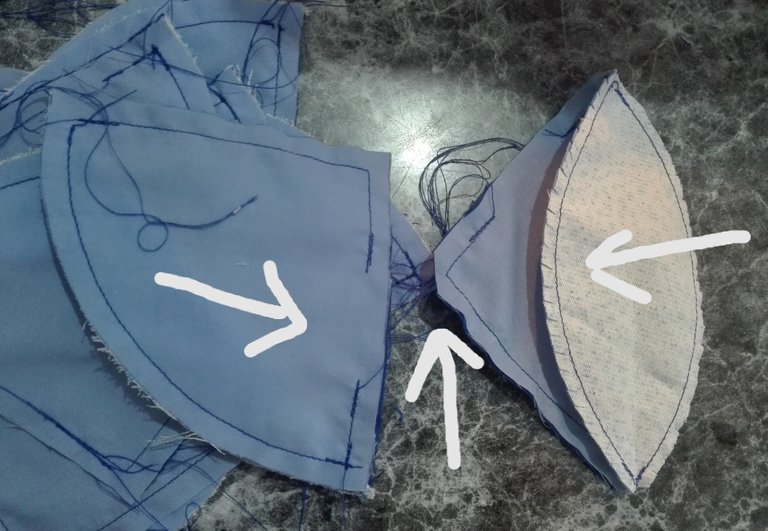
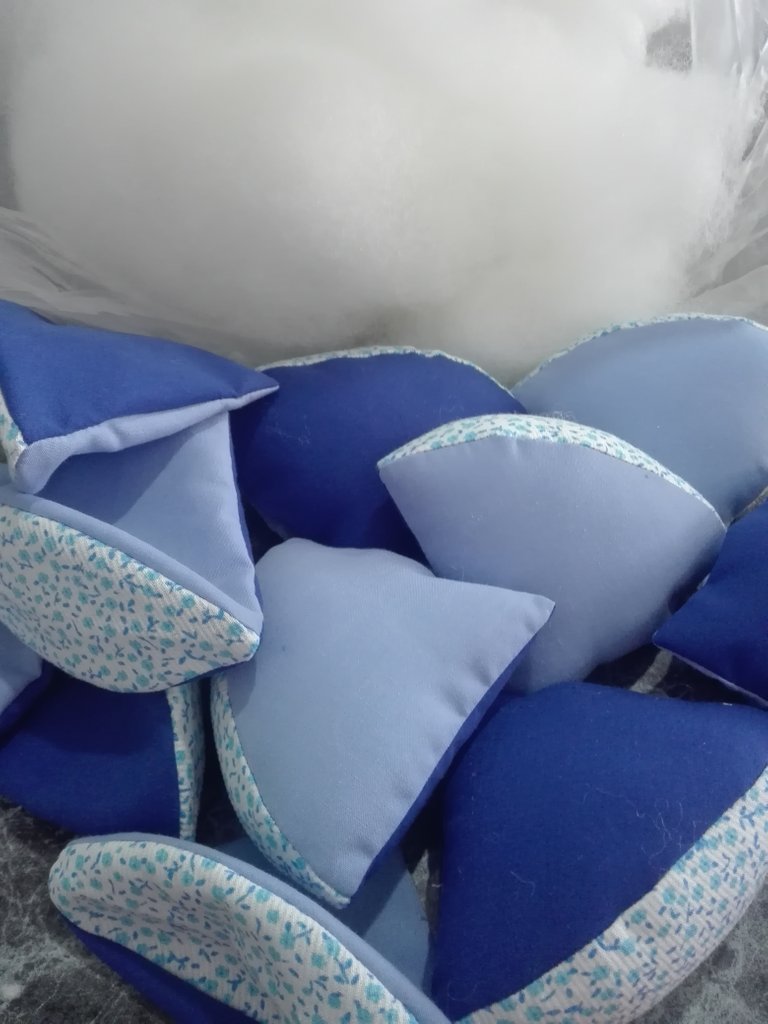
Luego hay que unir los laterales de los triángulos dejando una abertura para dar vuelta y rellenar, yo la dejé en un costado. Ni muy grande ni muy chica. Este paso es más fácil dependiendo de lo prolijo que cortaste cada pieza, así que otro punto a tener en cuenta. Antes de dar vuelta cortar las puntas sobrantes, hacer piquetes en las curvas (si tenés la tijera zigzag es más fácil).
Then you have to join the sides of the triangles leaving an opening to turn and fill, I left it on one side. Not too big or too small. This step is easier depending on how neat you cut each piece, so another point to consider. Before turning, cut the leftovers, make pickets in the curves (if you have the zigzag scissors it is easier).
Ahora a rellenar y cerrar con puntada escondida las aberturas o con la máquina bien por el bordecito, a elección.
Now to fill and close with hidden stitch the openings or with the machine either by the rim, to choice.
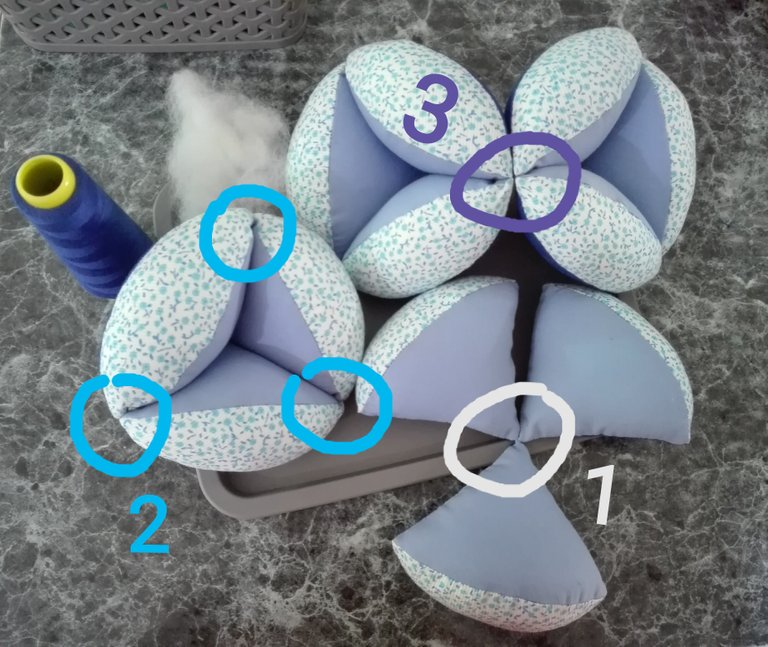
Se comienza el armado uniendo de a tres gajos, a mí me resultó más fácil unir primero los vértices y luego los laterales.
Después juntar dos grupos enfrentando cuatro gajos y unir. Así sucesivamente formando flores de cuanto pétalos. Antes de unir el último grupo también cosí un poco los vertices, pero quizá no sea necesario.
You start the assembly by joining three segments, it was easier for me to join the vertices first and then the sides. Then join two groups facing four segments and join. So on forming flowers of four petals. Before joining the last group I also sewed the vertices a bit, but it may not be necessary.
Ojalá haya sido clara, y como dije, hay videos en YouTube donde se visualiza mejor el proceso, yo miré varios y tomé de cada uno el proceso que me resultó mejor.
Algunos sugieren que en el centro lleve un cascabel, así de recién nacido el bebé lo colgas del chango y atrae su atención, en ningún video lo ví colocado, intenté, pero queda tan apretado todo al centro de la pelota que no hay cascabel que suene. Algún día probaré hacer otra pelota modificando el vértice de los triángulos para que quede un espacio para el cascabel.
I wish it was clear, and as I said, there are videos on YouTube where the process is better visualized, I watched several and took from each one the process that was better for me.
Some suggest that in the center take a rattle, so newborn the baby you hang it from the stroller and attracts his attention, in no video I saw it placed, I tried, but it is so tight everything in the center of the ball that there is no rattle that sounds . Someday I will try to make another ball by modifying the vertex of the triangles so that there is a space for the rattle.
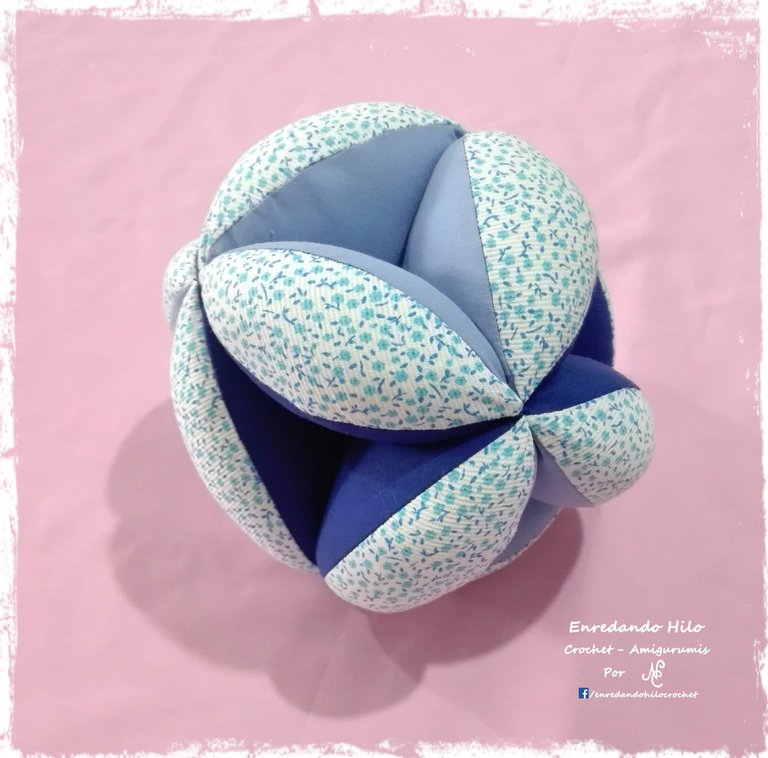
La verdad es que es trabajo realizarla, pero me encanta el resultado!!! Creo que vale la pena.
The truth is that it is work to do it, but I love the result! I think it's worth.

Las fotos son propias, algunas publicadas previamente en mi Facebook e instagram.
The photos are my own, some previously published on my Facebook and instagram.
Hasta el próximo lunes!!!
Until next monday!!!
Posted via neoxian.city | The City of Neoxian
Gracias por compartir tu contenido con la comunidad de El Arca (@elarca), el mismo ha sido votado por nuestra iniciativa de curación artística @stellae. Si deseas puedes delegar SP al proyecto: Delegate 25 SP Delegate 50 SP Delegate 100 SP Delegate 250SP Delegate 500SP o seguir nuestro trail de curación en Steem Auto. Recuerda usar los tags palnet y creativecoin para obtener mayores recompensas.
The sewing process looks so complicated but the ball is lovely and your labor really paid out. I cannot imagine to sew something like this myself as I guess i am not precise enough... Thank you for showing the process <3
Thanks a lot!! It is just a matter of trying. It seems overwhelming but little by little you can.
Amazing creativity!
This post has been appreciated and featured in daily quality content rewards. Keep up the good work
Thanks you very much!!
Congratulations @noeliazul! Your post has been placed in the spotlight for this week's @NeedleWorkMonday Featured Post 79!
Thank you for your quality post and for being apart of the needlework community!
#NeedleWorkMonday is an initiative that supports and rewards the needlework community while inspiring the Steemit blockchain.
Subscribe to our NeedleWorkMonday Community today!
For more information on #NeedleWorkMonday and the @needleworkmonday community please visit our FAQs!
Many thanks!! I am very excited to be considered.
This is very pretty. If you like flowers you may like the flower pictures community.
https://steemit.com/hive-172973/@shortsegments/welcome-to-the-flower-picture-community
This is so adorable and well sewn together. Thank you for sharing process pictures with us . It’s so fun being able to go on the journey with you.
I am such a beginner sewer that I would have ran from this task but you completed it well :)
Thank you!!! I have an important incentive to face the task.